
Queen's Domain Difficulty: Combat and Survival Tips
Queen's Domain difficulty gets easier when you understand stamina, throwing weapons, and saving. Learn how to survive early fights and find stat upgrades.
Jump to
How Hard Is Queen's Domain?
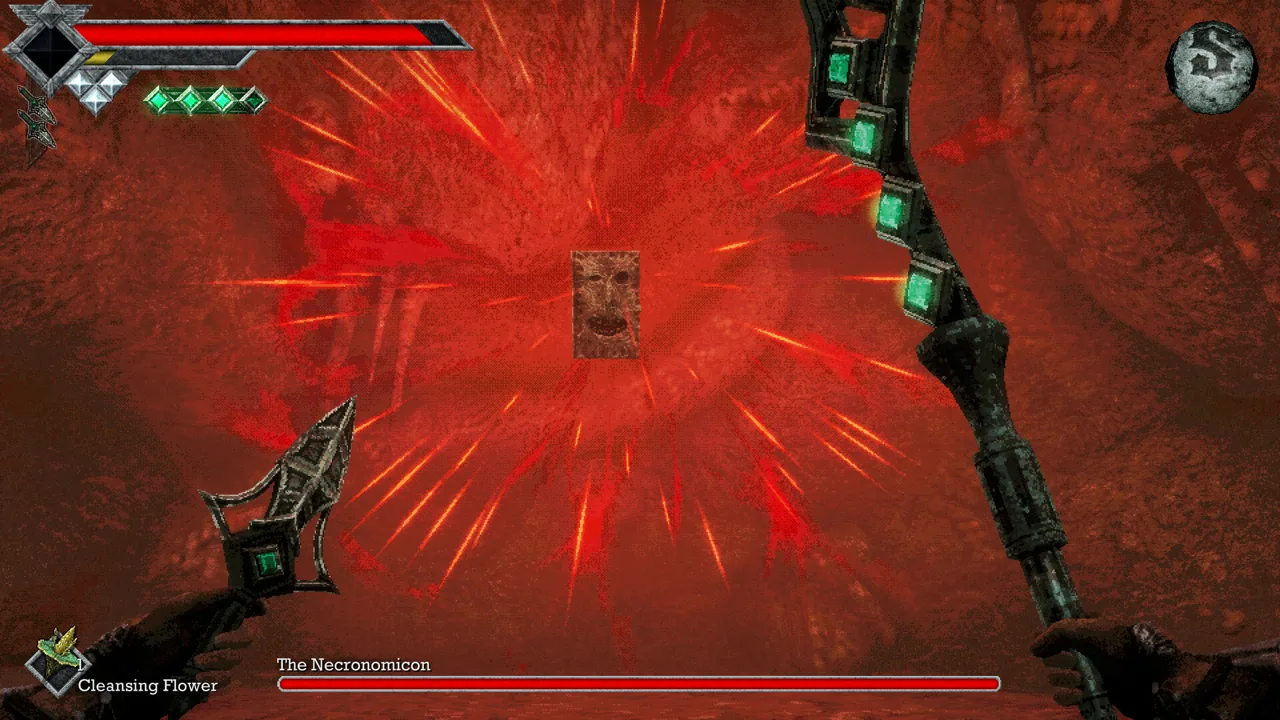
Queen's Domain difficulty can feel punishing early on: rushed attacks barely hurt enemies, groups overwhelm you, and dying can erase everything since your last manual save. Learning the combat rhythm and finding the Dagger Belt make those opening encounters much more manageable. Expect a demanding introduction built around spacing, observation, and exploring for better equipment.
The challenge extends beyond fighting. There is no map or quest-marker trail, and small environmental switches can hide essential routes. Getting stronger helps you survive, but it won't reveal a doorway you haven't noticed.
Your equipment also changes what you can handle. Throwing weapons, permanent food upgrades, weapon experience, and the Holy Sword Endu's movement abilities give you more options as you progress. An ugly opening fight doesn't mean every encounter will feel that restrictive.
Official page: Queen's Domain (store.steampowered.com)
Let the Power Meter Recover Between Attacks
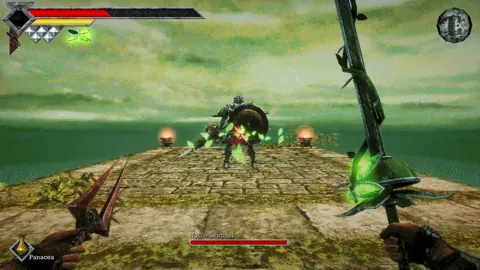
The yellow Power Meter determines melee damage. Swing with a full meter and you deal full damage; repeatedly attack while it is empty and your strikes do almost nothing.
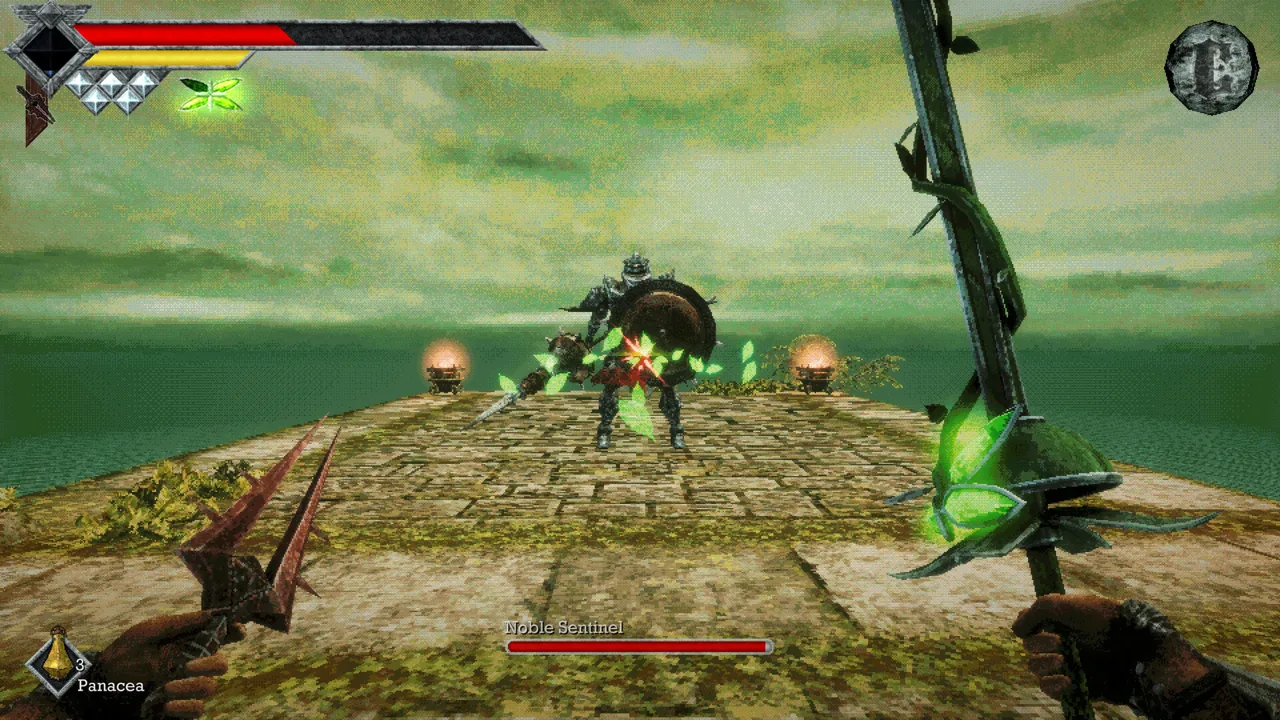 Image: Steam / Freshly Baked Games LLC
Practice this rhythm against a single Ratty Bug:
- Draw it away from nearby enemies.
- Let it approach and begin its attack.
- Move beyond its reach.
- Strike when your Power Meter has recovered.
- Back away and repeat.
Sprinting drains the same meter. You can keep running after it empties, but it won't recharge while you continue sprinting. Stop sprinting before committing to melee, or you can arrive within striking distance without the power to hurt anything.
Holding the primary attack button—left-click by default on PC—builds a stronger charged attack, shown by the meter turning blue. You can begin charging while the yellow meter is recovering.
Charging has a practical cost: while holding the attack, you cannot run, Wind Dash, or throw weapons. Use daggers between melee attacks, then start charging when you have enough room to finish the swing safely.
Get the Dagger Belt Before Clearing the Opening Area
The Dagger Belt gives you three rechargeable Throwing Daggers. They return over time, so using them doesn't consume a permanent supply of ammunition.
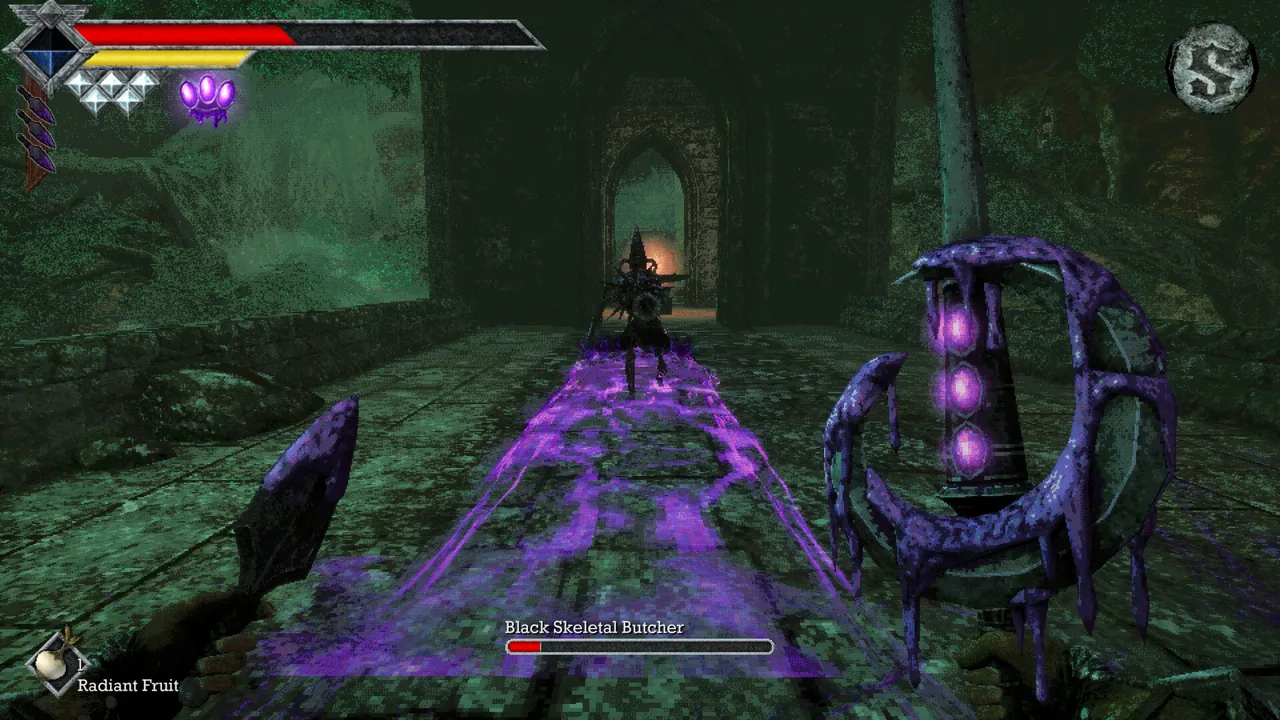 Image: Steam / Freshly Baked Games LLC
To collect the belt:
- From the first Crystal Monument, climb the nearby stairs.
- Take the first right through the gap in the rocks, then turn right again.
- Follow the coastal path past the Ratty Bugs and Forest Eyes.
- Look for two small offshore islands with a sparkling item on the farther one.
- Run and jump across both islands, collect the belt, and equip it.
You cannot swim. Falling into the water costs health and returns you to shore, so line up each jump.
Daggers solve several immediate problems. Use them to destroy the wall-mounted Forest Eyes before fighting nearby ground enemies, pull a creature away from a group, or deal damage while waiting for your melee power to return.
Additional daggers increase how many throws you can make before waiting. After unlocking the shop, buy extra charges to expand that ranged reserve.
Match Damage Types and Learn Weapon Specials
Enemies have weaknesses and resistances to Slash, Pierce, and Impact damage. Check their Bestiary entries when a fight feels unusually slow.
 Image: Steam / Freshly Baked Games LLC
You can equip three melee weapons, allowing you to carry different damage types.
| Weapon | Damage type |
|---|---|
| Rusted Short Sword | Slash |
| Rusted Spear | Pierce |
| Wooden Club | Impact |
| Holy Sword Endu | Slash |
| Morningstar | Impact and Pierce |
Read the weapon description instead of judging damage type by its animation. A sword's thrusting motion does not automatically make the attack deal Pierce damage.
The Rusted Spear is especially useful during the opening stretch because its special attack moves you backward while attacking. Find it in the tower chest guarded by a poisonous Chilopoda near the coastal route. Use daggers and keep your distance while dealing with that guard.
Learn each enemy's reach before committing to repeated attacks. Chickets jump farther than Ratty Bugs, and Skeletal Fighters can close the gap with a fast lunge. Leave enough space for those attacks to finish.
Preparing for the Shrine Guardian
Before entering Endu Shrine, save, restore your health, and put healing items within easy reach. Equip the Rusted Spear if you want its backward movement during the fight.
Watch the Guardian's sword. When it raises the blade overhead, retreat farther: that strike reaches a considerable distance. Attack after creating a safe opening, then disengage while your power recovers.
Defeating the Guardian lets you collect the Holy Sword Endu. Interact with the defeated Guardian to receive the Stone Duck Figurine, which unlocks shop access through Crystal Monuments.
Save Manually and Separate Saving From Resting
Resting does not replace saving. Crystal Monuments offer separate actions, and there are no automatic checkpoints protecting your progress.
Saving records what you have accomplished. Resting restores your health, clears negative status effects, and respawns enemies. Saving alone does not cause that reset, although enemies also return after enough time passes.
Save after collecting an important weapon, completing an objective, opening a shortcut, or surviving a difficult route. Backtrack to a monument when you have something valuable to protect.
Use healing items to finish a dangerous stretch when returning would mean abandoning substantial progress. Dried Herbs can drop from Ratty Bugs, and breakable containers hold additional supplies. Spend healing when it keeps a successful expedition alive.
Keep the quick-item selection manageable, too. On default PC controls, F uses the selected item and the mouse wheel cycles through quick slots. Remove items you don't need from those slots so your healing is easier to select.
Explore for Permanent Strength and Better Movement
Leveling raises your maximum Life Points and Attack Power, but experience is only part of character growth. Hidden meals permanently improve stats:
- Broiled Meat increases Attack Power.
- Roasted Poultry increases maximum health.
After obtaining Endu, revisit the starting area. Its Wind Dash reaches raised food platters and ledges that were previously inaccessible. Look underneath the food for Meal Tickets before moving on.
The Life Charm is another early upgrade. Find it in the chest east of the shrine holding the Endu Shrine Gate Key in the underground dungeon. Equip it for roughly 10% more HP.
Pick Up the Azure Torch
Once you can air dash, explore the route to the Tower of Knowledge and collect the Azure Torch beside its entrance.
The torch provides light and a rechargeable fireball attack that can set enemies burning. Its magical energy builds while it occupies an equipped weapon slot, even when another weapon is active. Use that recharge time while fighting with your other equipment.
Weapons also improve through use. Keep practicing with equipment whose reach and special attacks suit your timing, while retaining alternatives for resistant enemies.
Revisit Gaps After Finding Wind Gems
Additional Wind Gems increase your available Wind Dashes. The second gem is in a small tower reached from the raised route near the Cemetery Precipice Crystal Monument.
Each extra dash expands your traversal options. Remember unreachable platforms and return after upgrading Endu; food, treasure, and further routes reward those return trips.
Check Status Effects When Combat Suddenly Changes
A familiar weapon can feel weak because your character is suffering from a debuff. Open Status & Inventory when your damage, movement, or abilities change unexpectedly.
Watch for these effects:
- Poison: steadily drains Life Points.
- Heavy: slows movement and Power Meter recovery.
- Disease: reduces damage dealt.
- Sticky: prevents throwing weapons.
- Binding: prevents magic use.
Rest at a Crystal Monument to clear negative effects. Carry remedies into longer dungeon trips, particularly when your strategy depends on daggers or magical attacks.
Against poisonous Chilopodas, maintain distance and use ranged attacks to reduce exposure to their bites. If poison lands, monitor your health immediately rather than trying to finish the fight at any cost.
Recognize a Missed Route or a Technical Problem
When you're stuck without a clear destination, inspect the environment before grinding more levels. Early dungeon entrances use small targets inside diamond-shaped openings. Throwing a dagger into the target opens the associated door.
Look around headstones, skeletons, recessed walls, and breakable containers. Pay attention when the crosshair highlights an interactable object, and inspect nearby surroundings after pulling a lever—the change can happen somewhere other than the adjacent gate.
Some routes also lead into tougher areas before you're ready. If enemies remain overwhelming after you recover your power, match their weaknesses, and check your status, retreat and explore another branch.
Technical faults deserve a separate response. The October 31 version 1.01.01 patch addresses the Pit of Despair soft lock, the stuck Executioner door, freezes involving weapon evolution and Mimics, missing water return pits around Neasied, and Star Lizard bags becoming stuck in midair. Install that update before repeating a route blocked by one of those problems.
Continue with
 Queen's Domain Food Guide: Stat Boosts and LocationsFind Queen's Domain food locations, grab permanent stat boosts, and use Wind Dash to reach hidden meals. Pick up Meal Tickets from each platter you clear.
More in Guide
Queen's Domain Accessories: Stats, Charms, and Shops
Learn how Queen's Domain accessories affect your stats, where to find and buy them, and how to choose resistance bonuses against dangerous island enemies.
Queen's Domain Achievements: All 53 Unlocks and Route
Track 53 Queen's Domain achievements with exact unlock requirements, collectible goals, boss milestones, four endings, and a practical completion route.
Queen's Domain Beginner Guide: Survive Your First Hour
Queen's Domain beginner guide: learn combat timing, find early weapons, save safely, uncover hidden routes, and prepare for your first boss on Neasied.
Queen's Domain Demo Guide: Daggers, Keys & Boss Tips
Explore the Queen's Domain demo with a route to the Dagger Belt, shrine key, and boss, plus combat tips that help you save herbs and protect progress.
Continue exploring
Queen's Domain Exploration Guide: Unlock Every Route
Use this Queen's Domain exploration guide to find Endu, unlock Wind Dashes, collect permanent upgrades, and reach Obmuer Temple without losing progress.
Queen's Domain Map Guide: Routes, Keys, and Shortcuts
Navigate Queen's Domain map with routes to Endu, Wind Gems, Obmuer Temple, and the Tower of Knowledge, plus shortcuts and fast travel tips for exploration.
Join the community
Official channels for news, updates and player help: