
Queen's Domain Map Guide: Routes, Keys, and Shortcuts
Navigate Queen's Domain map with routes to Endu, Wind Gems, Obmuer Temple, and the Tower of Knowledge, plus shortcuts and fast travel tips for exploration.
Jump to
Does Queen's Domain Have an In-Game Map?
Looking for a Queen's Domain map? There’s no in-game map or quest markers, so finding your way depends on the compass, recognizable landmarks, and the shortcuts you open. The Holy Sword Endu and its Wind Gems let you cross gaps that initially block progress.
The island connects through ruined towers, underground passages, elevated roads, and broken bridges. A ledge you pass beneath early on can become a route forward once you gain another air dash.
For the opening stretch through the mausoleum, follow this progression:
- Reach the Knight’s Encampment and collect the Dagger Belt.
- Explore the underground dungeon for the Endu Shrine Gate Key.
- Defeat the Shrine Guardian and claim the Holy Sword Endu.
- Collect the Azure Torch and the second Wind Gem.
- Light the island’s gargoyle beacons while progressing through Obmuer Temple.
- Enter the Tower of Knowledge, defeat its boss, and open the route toward the mausoleum.
Use Crystal Monuments as your navigation anchors. Remember the direction of each new path relative to the nearest monument, especially when a route drops into a lower area.
Official page: Queen's Domain (store.steampowered.com)
From the Starting Beach to the Holy Sword Endu
Your opening objective is the locked Endu Shrine. Getting inside requires a detour through an underground dungeon, and that detour starts with a throwing weapon.

Establish the Knight’s Encampment Save Point
Head north through the opening in the rocks from the starting beach, then follow the road right to the soldiers. Speak with Commander Ekonta to receive the Rusted Short Sword and equip it.
Break the wooden barricade west of the camp to reach the Crystal Monument. Save here before exploring farther.
Let the yellow Power Meter refill between swings when breaking obstacles. Repeated attacks with an empty meter deal very little damage, making even a crate take far longer than necessary.
Collect the Dagger Belt and Open the Dungeon Route
- Climb the stairs beyond the monument.
- Take the first right through a narrow gap in the rocks, then turn right again.
- Follow the coastal road past the Ratty Bugs and Forest Eyes.
- At the beach with two small islands, jump across to the farther island.
- Collect and equip the Dagger Belt hanging on a branch.
The belt gives you three rechargeable Throwing Daggers. Use them to remove the wall-mounted Forest Eyes and activate diamond-shaped switches.
On the return trip, the tower guarded by a Chilopoda contains the Rusted Spear. Its special attack moves you backward while striking, giving you a way to create space in narrow passages.
From the area near the starting monument, follow the uphill path northwest to a drop overlooking a lower valley. Clear the Forest Eyes before descending. Below, throw daggers into the diamond-shaped switches beside the doors: one opens a route back toward the starting area, while the entrance near the braziers leads underground.
Retrieve the Key and Defeat the Shrine Guardian
Inside the dungeon:
- Open the chest in the northern room of the first lower floor for the Wooden Club.
- Continue downstairs to the shrine room.
- Collect the Endu Shrine Gate Key from the central shrine.
- Open the chest east of the shrine for the Life Charm.
- Take the elevator back to the surface near the starting Crystal Monument.
Save, then return along the coastal route toward the Dagger Belt islands. The fenced shrine just beyond them is your destination.
Unlock the gate and defeat the Shrine Guardian. Keep your distance when it raises its sword for an overhead strike. Afterward, interact with the guardian to receive the Stone Duck Figurine, then collect the Holy Sword Endu.
Endu’s Wind Dash opens the next set of routes. The Stone Duck Figurine also unlocks access to Umbada’s Trading Outpost through Crystal Monuments.
Find the Azure Torch and Second Wind Gem
With one air dash available, return to the paths above the Knight’s Encampment. Your next major landmark is the Cemetery Precipice Crystal Monument.
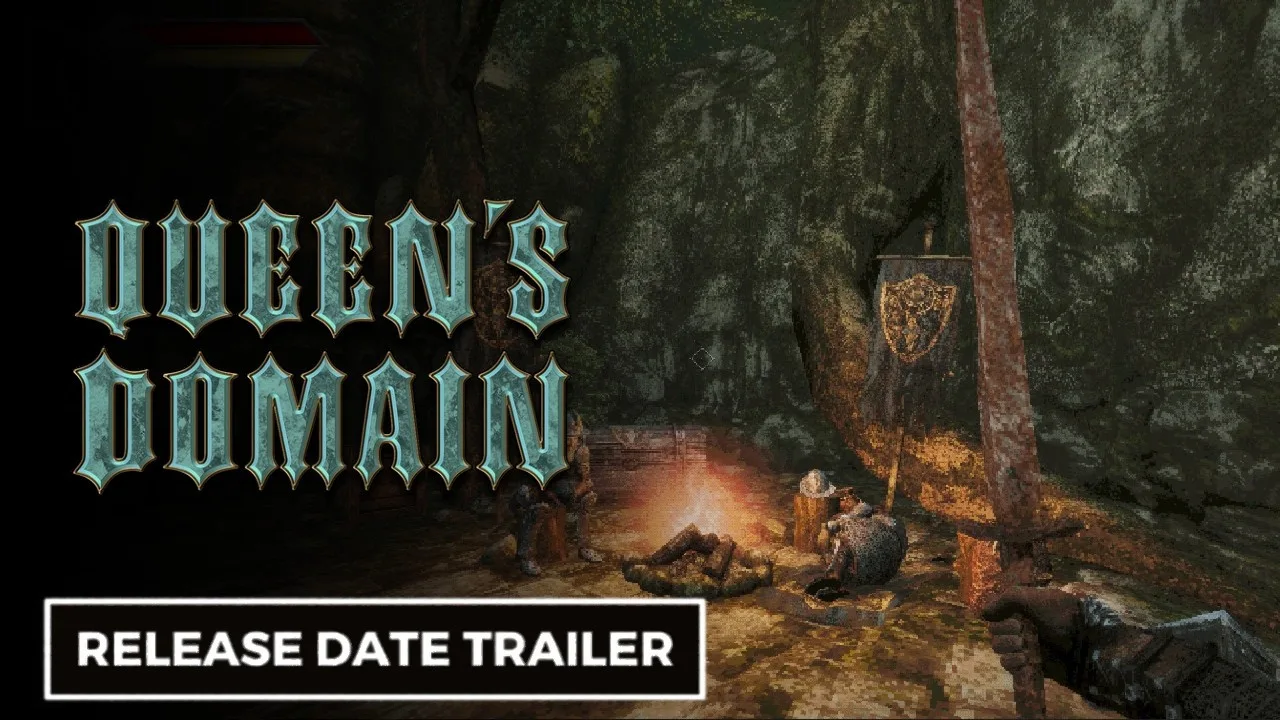
Climb from the starting area, use Wind Dash to cross the gap along the uphill route, and continue toward the upper fork. The left branch contains a chest with another Throwing Dagger. Head northeast from this area and dash across to the blue glow of the Cemetery Precipice monument.
Detour to the Tower of Knowledge Entrance
The Tower of Knowledge stays sealed until you light three beacons, but you can collect the Azure Torch outside it immediately.
- From Cemetery Precipice, face northwest and approach the tombstones near the cliff.
- Look north toward the bridge marked by torches.
- Drop to the lower route and head toward that bridge.
- Jump and air dash across.
- Turn right and climb east, then turn left toward the tower entrance.
- Pick up the Azure Torch beside the doorway.
Keep the torch equipped to let its magical charges regenerate, even while another weapon is active. Its fireballs add a ranged attack, and the torch itself activates the gargoyles connected to the tower’s seal.
Reach the Second Wind Gem
Return to Cemetery Precipice and clear the eastern path before attempting the climb.
Follow the wall east until the raised road slopes down near a tree and a pile of rubble. Climb the rubble, follow the road north, and turn west at its end.
You’ll see the Wind Gem in a small tower. Dash onto the broken tower to the right, then jump from its rubble to the smaller tower.
Collecting this gem gives Endu two Wind Dash charges. Use both during a jump to cross longer gaps, including the broken bridge leading toward Obmuer Temple.
Light the Beacons and Reach Obmuer Temple
The Tower of Knowledge requires three lit beacons and three bell rings. Collect the Azure Torch before following these routes.
First Beacon: Cemetery Precipice
From the raised road used to reach the second Wind Gem, take the southeastern path past a blue lantern.
Look north for a broken staircase. Cross with two air dashes, defeat the Skeletal Fighters above, and strike the gargoyle’s mouth with the Azure Torch. This lights the first beacon.
Second Beacon: The Upper Route Above the Starting Area
With two dashes, explore the higher ruins above the first Crystal Monument. This route reaches an elevator connecting the upper area to ground level.
Follow the upper route north from the elevator to another gargoyle beside a locked gate. Light it with the Azure Torch.
Cross to Aganmi’s Camp
Return to the Knight’s Encampment and climb the nearby stairs. Pass the left side of the broken tower, then head southwest to the broken bridge.
Cross using two air dashes and continue to the Crystal Monument at Aganmi’s Camp outside Obmuer Temple.
Find the Four Triangular Slates
The temple entrance requires four triangular slates scattered through the surrounding water-filled ruins:
- East of the circular fish-filled area: On a rock guarded by skeletons.
- Broken columns west of that slate: Climb along the ruined wall to reach it.
- Western corner below the trident area: Drop down from the main skeleton-filled area where you collect the trident weapon.
- Large broken platform in the middle: Air dash across, collect the slate, and watch for skeletons awakening nearby.
Bring all four to the door at the back of the area to enter the temple.
Find the Third Wind Gem and Finish the Temple
Inside, collect the first trident key in the watery area near the entrance. Use it to progress toward the second save point.
From there, dash into the opening below in the large pit. The area beyond contains another trident key and the third Wind Gem. With three air dashes, you can cross the large pit near the save point.
Farther inside, a room with several trident keyholes can distract you from the main route. Those extra key rewards are optional. Only two trident keys are found inside the temple; another comes from leveling the trident weapon to its maximum, and another becomes available in the shop after the Tower of Knowledge boss.
For progression, continue into the large cavern and defeat its three royal guard sub-bosses. Their defeat opens the route to Dagoom, the sea king.
After defeating Dagoom and leaving the dungeon, light the third gargoyle with the Azure Torch. A nearby fast travel point returns you toward the starting area.
Navigate the Tower of Knowledge to the Mausoleum
Once all three beacons are lit, return to the Tower of Knowledge.
The route through the tower involves a numbered gargoyle puzzle, a rotating stairway, and a key obtained below the upper floors.
Solve the Numbered Gargoyle Puzzle
On the balcony with numbered gargoyles, light number three and number seven. This opens a nearby door inside the tower.
Continue through that door toward the next Crystal Monument, then climb the stairs to the upper area and its fast travel point.
Reach the Forbidden Archives
Collect the Storm Gem above the large staircase. It unlocks Endu’s special attack meter, but it does not finish your route through the tower.
From beneath the Storm Gem’s location:
- Air dash to the switch that rotates the stairway.
- Climb the repositioned stairs.
- Take the elevator down.
- Speak with the NPC below to receive the Forbidden Archives Key.
- Return to the locked doors near the Storm Gem.
Beyond those doors, another save point and an elevator lead toward an enemy gauntlet and the Necronomicon boss.
Open the Mausoleum Route
Defeat the Necronomicon to obtain the acid vial. It coats your basic Throwing Daggers with acid, allowing you to destroy the fleshy growths found throughout the tower.
Return toward the NPC who gave you the Forbidden Archives Key and remove the growth blocking the nearby route. This opens the way toward the mausoleum and lets you unlock the large door near the soldiers’ original camp.
Exploration Rewards Worth Returning For
Movement upgrades make earlier landmarks worth revisiting. Leave the high Orbewa Egg platform for later rather than repeatedly attempting it with your opening traversal abilities.
| Item or reward | Location | What it does |
|---|---|---|
| Broiled Meat and Meal Ticket | Raised platform north of the stairs near the starting monument | The meat permanently increases Attack Power |
| Roasted Poultry and Meal Ticket | Upper ledge beside the tower beyond the early cliff gap | The poultry permanently increases health |
| Travel Crystal Fragment | Crate inside the broken, tilted tower south of the Tower of Knowledge entrance | Provides a consumable return to your last saved Crystal Monument |
| Ratty Bug Compendium | Crate near the injured knowledge keeper’s skeleton below the broken bridge | Collectible used for a later quest |
| Roasted Poultry and Meal Ticket | Upper platform of the tower west of the second Wind Gem | Adds another permanent health increase |
Star Lizards carry Filthy Loot Sacks that you can sell at the trading outpost. Clear surrounding enemies before chasing one, especially around Cemetery Precipice.
Additional Throwing Daggers increase your available charges. Between the starting belt, the early chest, and the shop’s three daggers, you can reach seven.
Use Shortcuts, Fast Travel, and Manual Saves
Crystal Monuments handle manual saving and resting. Save after collecting a key, movement upgrade, or major reward. Dying returns you to your most recent save and removes progress made afterward.
Resting restores health and clears negative status effects, but also respawns enemies. Saving alone does not have that consequence. Enemies can also return over time, so check familiar corridors before running through them.
Travel options serve different purposes:
- Travel Crystal Fragment: Consumed to return to the last Crystal Monument where you saved.
- Wing Altar: Lets you travel between discovered Wing Altars.
- Wing Stone Fragment: Consumed to travel to a Wing Altar from your current location.
Check the exits after finishing a dungeon. Elevators, ramps, and unlocked doors often connect back to familiar ground and shorten later trips.
Watch the crosshair while searching walls, doors, and objects. It lights up when you’re aiming at something interactive.
Exploration Fixes in Version 1.01.01
The October 31 update addresses several problems that can interrupt navigation or leave rewards out of reach.
| Area or object | Version 1.01.01 fix |
|---|---|
| Pit of Despair | Fixed a soft lock |
| Executioner door | Fixed the door getting stuck |
| Water around Neasied | Added missing water return pits |
| Star Lizard loot bags | Fixed bags becoming stuck in midair |
Install the update before continuing an affected route. Around the opening coast, use the intended island jumps: entering the water costs health, and your character cannot swim.
Continue with
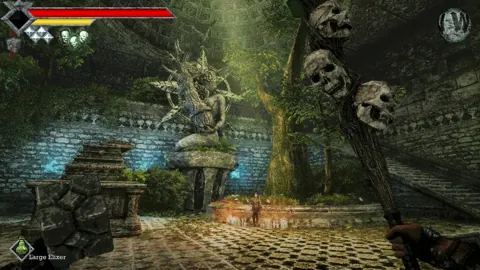 Queen's Domain Shop Location: Unlock the Duck MerchantFind the Queen's Domain shop location, unlock Umbada's Trading Outpost with the Stone Duck Figurine, and learn what to buy with your early Ancient Coins.
More in Exploration
Queen's Domain All Hidden Passage Guide: Early Secrets
Queen's Domain all hidden passage guide: find three secret walls, collect Pandora's sword, and unlock overlooked routes through the Tower of Knowledge.
Queen's Domain Exploration Guide: Unlock Every Route
Use this Queen's Domain exploration guide to find Endu, unlock Wind Dashes, collect permanent upgrades, and reach Obmuer Temple without losing progress.
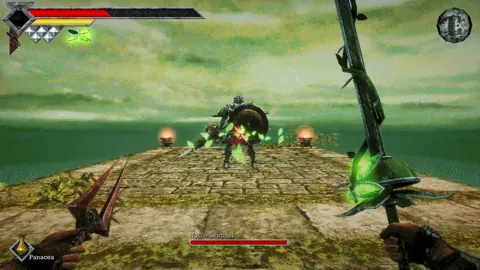
Queen's Domain Sword Jump: Wind Dash and Demo Timing
Learn the Queen's Domain sword jump, unlock Wind Dash, find the second Wind Gem, and understand the demo lunge trick before tackling much longer gaps.
Queen's Domain Wind Dash: Unlocks and Wind Gem Guide
Master Queen's Domain wind dash with the Holy Sword Endu, find early Wind Gems, and unlock double and triple air dashes to explore the isle's hidden paths.
Join the community
Official channels for news, updates and player help: