
Queen's Domain Exploration Guide: Unlock Every Route
Use this Queen's Domain exploration guide to find Endu, unlock Wind Dashes, collect permanent upgrades, and reach Obmuer Temple without losing progress.
Jump to
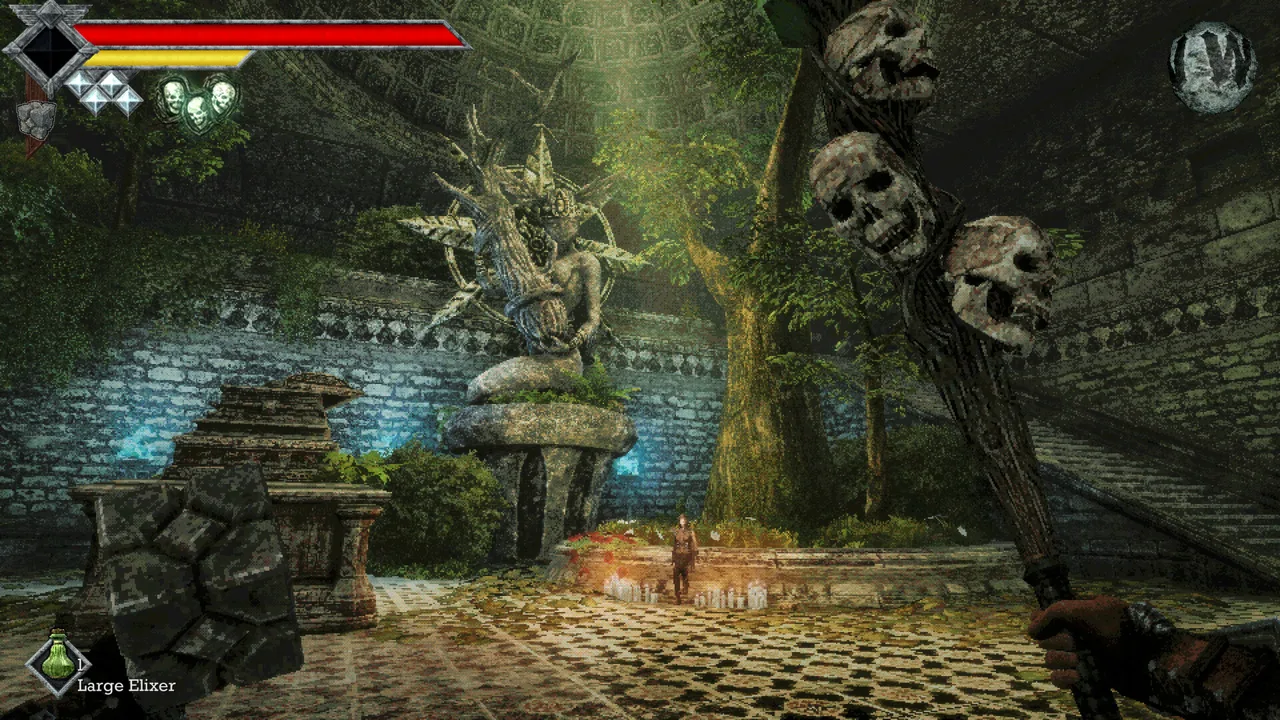
Follow the Early Exploration Route
That unreachable ledge on the Isle of Neasied can hide a permanent upgrade—or the route forward. This Queen's Domain exploration guide takes you from the shipwreck to Obmuer Temple while picking up the equipment that opens the island. Prioritize the Dagger Belt, Holy Sword Endu, and second Wind Gem to reach new paths and revisit treasure you passed earlier.
Your main progression route is:
- Meet Commander Ekonta and find the nearby Crystal Monument.
- Collect the Dagger Belt and Rusted Spear.
- Explore the underground dungeon for the Endu Shrine Gate Key.
- Defeat the Shrine Guardian and claim the Holy Sword Endu.
- Retrieve the Azure Torch and second Wind Gem.
- Light the first beacon, then cross toward Obmuer Temple.
Navigate by landmarks and save manually
There is no map or network of quest markers. Use your compass alongside recognizable landmarks: the knights’ camp, coastal islands, broken towers, cemetery, and tall beacon structures.
Save manually at Crystal Monuments after important pickups and completed objectives. Dying sends you back to your last save, including the loss of any progress made afterward.
Saving and resting are separate decisions. Resting restores your health and clears negative status effects, but it also respawns enemies. Enemies can return over time, too, so check familiar corridors before assuming they are clear.
Exploration fixes in version 1.01.01
The October 31 update fixes several problems relevant to exploring Neasied and collecting equipment.
| Issue | Version 1.01.01 change |
|---|---|
| Missing water return pits around Neasied | Fixed |
| Star Lizard bags stuck in midair | Fixed |
| Freezing when weapons evolve | Fixed |
Official page: Queen's Domain (store.steampowered.com)
Get the Dagger Belt and Rusted Spear
Your opening equipment makes a major difference to how safely you can explore. Throwing Daggers let you remove ranged threats and activate door mechanisms, while the Rusted Spear gives you an attack that creates distance.
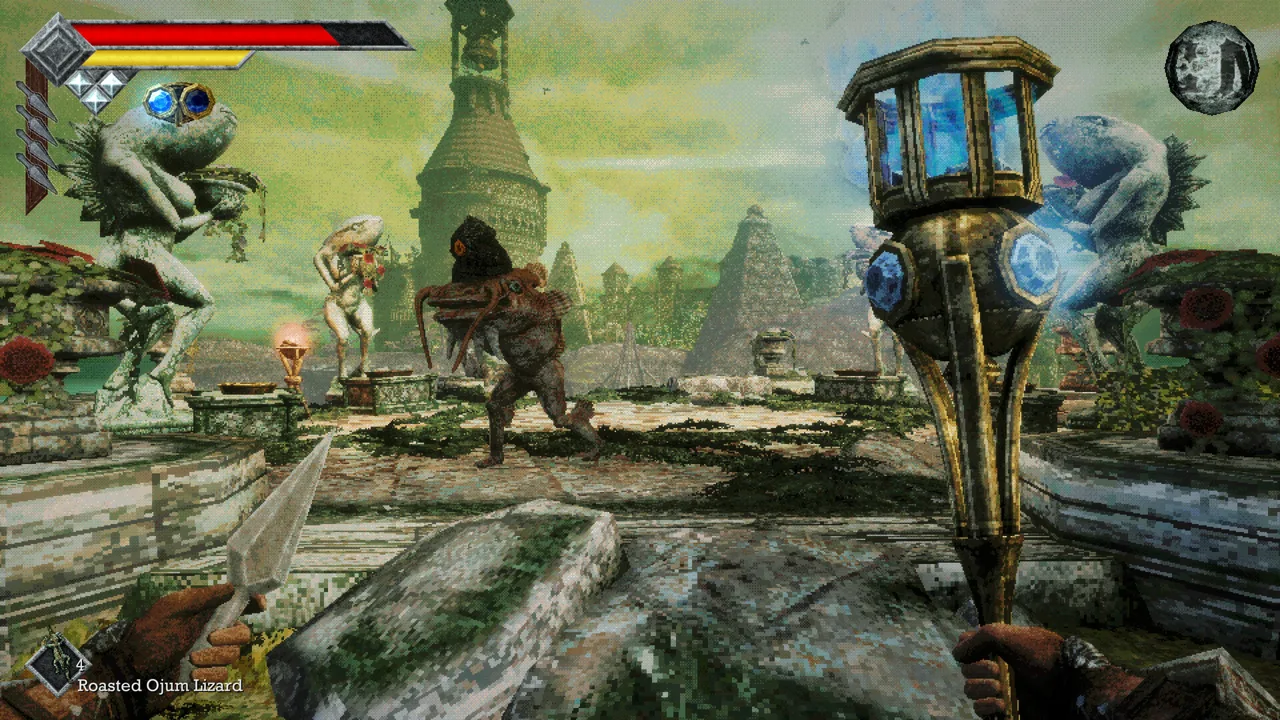 Image: Steam / Freshly Baked Games LLC
Equip your starting weapon and find the save point
From the beach, head north through the opening in the rocks, then follow the road right to the armored men.
Speak to Commander Ekonta to receive the Rusted Short Sword, then equip it through your inventory. Before leaving the camp:
- Pick up the Dried Herbs behind Arjaot.
- Break the crate behind Commander Ekonta for three Elixirs.
- Collect the Dried Herbs beside the wooden barricade.
- Break through that barricade to reach the Crystal Monument.
Let your yellow Power Meter recover between attacks. It determines your melee damage, so repeatedly swinging with an empty meter makes even breakable containers take far longer to destroy. Hold the primary attack button to charge a stronger strike.
Running also drains this meter. Before turning to fight something you have outrun, stop sprinting and give your attack power time to recover.
Reach the two coastal islands
Climb the stairs beyond the Crystal Monument carefully. The wall-mounted Forest Eyes sweep the area with ranged beams, while Ratty Bugs roam nearby.
Pull a Ratty Bug down the stairs if you want room to practice combat. For the equipment run, follow this route:
- Go up the stairs and take the first right through a narrow opening in the rocks.
- Turn right again onto the coastal path.
- Run past the two Ratty Bugs and continue through the stretch watched by Forest Eyes.
- Look for two small islands ahead.
- Run and jump to the first island, then jump to the second.
- Collect the Dagger Belt from the branch and equip it.
You cannot swim. Falling into the water costs health and returns you to shore, so line up the jumps before committing.
The Dagger Belt starts you with three Throwing Daggers that recharge over time. Watch their HUD icons to see how many are available.
Clear the route back and open the tower chest
On your return, use Throwing Daggers to destroy Forest Eyes before entering their firing lanes. A dagger can kill these early wall enemies in one hit.
Keep your distance from Chickets, whose jumping attacks reach farther than a Ratty Bug’s attack. Near the area above your first Crystal Monument, remove the Forest Eyes before approaching the large black Chilopoda guarding the tower.
Use daggers from a distance against the Chilopoda. Its bite inflicts poison, so avoid trading hits just to finish the fight faster.
Once the entrance is clear, open the tower chest for the Rusted Spear. Its special attack combines a thrust with a backward dash, letting you strike while pulling away when you have enough stamina.
Explore the Underground Dungeon for the Shrine Key
With ranged attacks and the spear available, head up the northwest path toward the cliff overlooking the lower valley.
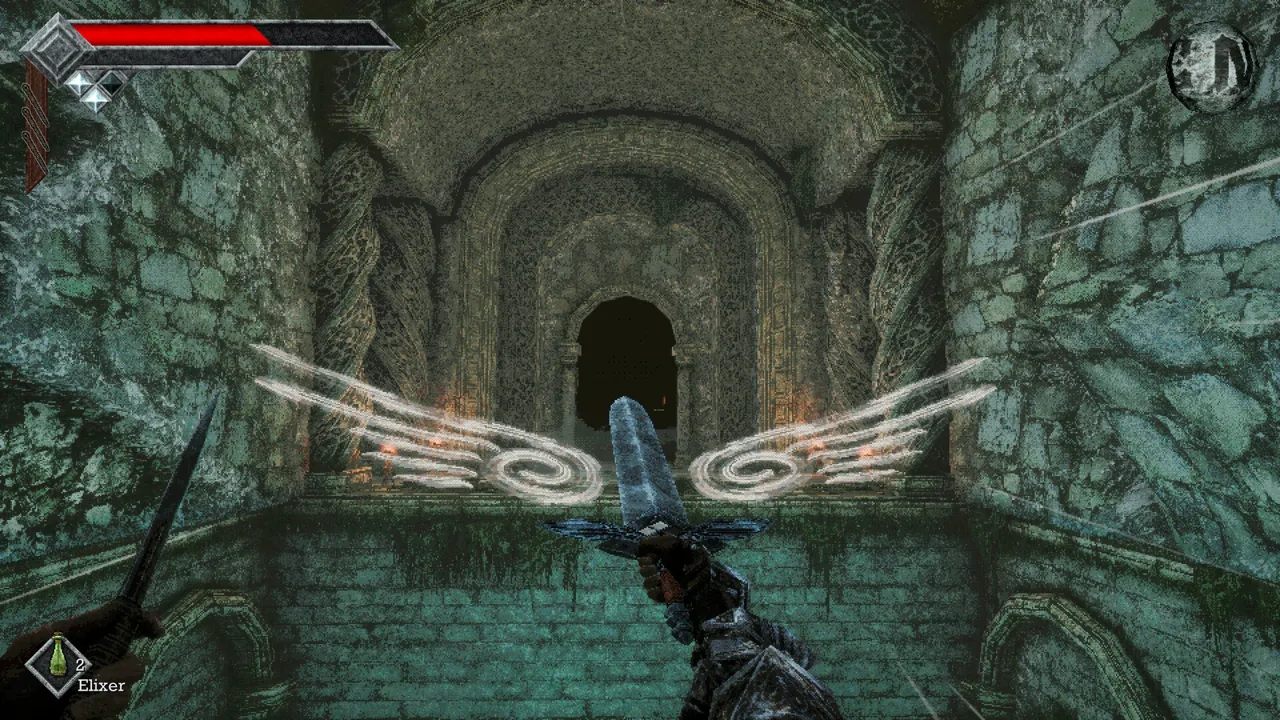 Image: Steam / Freshly Baked Games LLC
Open both diamond-switch doors
Remove the Forest Eyes below before descending. Clear the Ratty Bugs and check around the tree for additional wall enemies.
From the area beneath the drop, investigate both paths:
- Take the right path toward the dark cave doorway.
- Throw a dagger into the diamond-shaped opening beside the door.
- Find the other doorway near the braziers and activate its diamond mechanism the same way.
One passage provides a route back toward the starting area; the other leads into the underground dungeon. Open the return route and save before going deeper.
Search the nearby ruins while you are here. Ancient Coins sit beside a skeleton, and breakable containers near the overgrown round tower and uphill broken tower hold more coins and healing items. Be ready to retreat when approaching skeleton remains: Skeletal Fighters can appear nearby and close the distance with a fast lunge.
Collect the club, key, and Life Charm
Pick up the Ancient Coin at the dungeon entrance, then descend the ramp. Pull enemies back toward the ramp when you need fighting room instead of advancing into the whole floor.
Check these rooms before leaving:
| Location | Pickup | What it provides |
|---|---|---|
| Northern room on the first lower floor | Wooden Club | An Impact-damage melee weapon |
| Southern room near the candles | Two Ancient Coins | Shop currency |
| Shrine on the next floor down | Endu Shrine Gate Key | Access to Endu Shrine |
| Wooden chest east of the shrine | Life Charm | Roughly 10% more HP while equipped |
You now have weapons covering Slash, Pierce, and Impact damage. Check Bestiary entries for enemy vulnerabilities and resistances when choosing between them.
Clear the enemies around the shrine before collecting the key. After searching the floor, take the elevator on the far side back to the surface above the starting Crystal Monument. Save your dungeon progress before heading for the boss.
Claim the Holy Sword Endu and Unlock the Shop
Return along the coast toward the islands where you collected the Dagger Belt. Beyond them, look for the fenced shrine with a guard outside.
 Image: Steam / Freshly Baked Games LLC
The Endu Shrine Gate Key opens the entrance. Prepare your healing items before going through: the Shrine Guardian waits inside.
Defeat the Shrine Guardian
Equip the Rusted Spear and use its retreating special attack to maintain space. Mix in Throwing Daggers while their charges are available, and let the Power Meter recover between melee strikes.
Watch especially for the guardian raising its sword overhead. Back away immediately when the sword goes up; that strike reaches farther than its other attacks.
After winning, interact with the guardian to receive the Stone Duck Figurine, then proceed to the Holy Sword Endu. Equip it in place of the Rusted Short Sword.
Endu unlocks Wind Dash, represented by a diamond below the stamina meter. Jump and dash to reach platforms and cross gaps that were previously beyond your range. Each dash spends a charge, which recharges over time.
Visit Umbada’s Trading Outpost
Return to a Crystal Monument with the Stone Duck Figurine. Interacting with the monument transports you to Umbada’s Trading Outpost, where Ancient Coins buy equipment and supplies.
Search the shop before leaving. The table and breakable containers contain Dried Herbs, Badu Powder, an Elixir, an Ancient Coin, and an Iron Pineapple.
Step onto the teleporter pad to return to the monument. You can access the shop through Crystal Monuments afterward.
Keep collecting Ancient Coins and sell Filthy Loot Sacks from Star Lizards. Additional Throwing Daggers are useful purchases because they increase the number of throws available before you have to wait for charges.
Revisit High Ledges and Retrieve the Azure Torch
Wind Dash gives you reasons to retrace familiar paths. Start near the first Crystal Monument, where several previously unreachable rewards are close together.
Collect food that permanently improves your stats
Climb the nearby stairs and face north toward the pedestal platform. Jump from the ledge and Wind Dash across.
Skeletal Fighters appear around this pickup. Draw them away and fight on the ground, then return to the platform.
Collect the nearby Dried Herbs and open the serving platter for Broiled Meat, which permanently increases Attack Power. Pick up the Meal Ticket underneath the food.
Next, climb the eastern uphill path toward the gap you previously descended into. Dash across, then use the higher ground on the right to reach the upper ledge beside the tower.
That platter contains Roasted Poultry, which permanently increases health, with another Meal Ticket beneath it.
From here, the southern uphill path eventually leads to a fork. Take the left branch, clear the enemies, and search the barrel and chest. The chest contains another Throwing Dagger and an Ancient Coin.
Continue northeast toward the blue glow, cross the gap with Wind Dash, and save at the Cemetery Precipice Crystal Monument.
Find the Tower of Knowledge
From Cemetery Precipice, walk northwest to the tombstones near the cliff. Look north and down toward the bridge marked by torches, with Endu Shrine nearby.
Descend toward that bridge, clear the enemies along your approach, then jump and dash across. Turn right uphill to the east, then left toward the north.
The Azure Torch stands outside the Tower of Knowledge. Pick it up and equip it.
The torch serves as a light source and builds magical charges while equipped, even when another weapon is active. Spend a charge with its secondary attack to launch a blue fireball that can ignite enemies.
Use it alongside Throwing Daggers when you need to fight from a distance. Keep daggers available for flying enemies.
Read the beacon puzzle and search the broken tower
The doorway explains the Tower of Knowledge’s lock: bring azure flame to the gargoyles on three beacons. Each lit beacon triggers the tower bell; lighting all three unseals the entrance.
You will complete that objective across later exploration. For now, collect the torch and search the nearby ruins:
- Broken, tilted tower to the south: Dash onto its lower ledge, climb inside, and break the crate for a Travel Crystal Fragment.
- Broken bridge farther south: Collect the two Ancient Coins on the plate and note the Orbewa Egg on the high pedestal for a later return.
- Lower ledge beneath that bridge: Descend to the skeletons and break the crate near the Injured Knowledge Keeper’s Note for the Ratty Bug Compendium and an Elixir.
Keep the compendium for its later quest. Save the Travel Crystal Fragment for an emergency return rather than spending it on a short walk.
Find the Second Wind Gem
Return to Cemetery Precipice and explore the eastern path. Clear the Skeletal Fighters, Forest Eyes, Chickets, Meganeura, and Chilopoda before chasing nearby Star Lizards.
There is a Star Lizard near the bushes east of the monument and another farther east in front of a locked mausoleum. Clear their escape routes first, then use Endu’s dash and Throwing Daggers to pursue them.
Sell their Filthy Loot Sacks at the shop. With the additional dagger from the earlier chest and the shop’s three available Throwing Daggers, you can expand your supply to seven charges.
Climb the rubble beside the tree
From the Cemetery Precipice monument:
- Head north toward the graves.
- Turn east and follow the wall until the raised path drops to its lowest point beside a tree.
- Climb the rubble onto the upper road.
- Follow the road north and defeat the enemies.
- At the end, look west for the gem in a small tower.
- Jump and dash onto the broken tower on the right, then jump from its rubble to the smaller tower.
Collect the second Wind Gem to add another Wind Dash charge. Your HUD now shows two diamonds, allowing two dashes before you need to recharge.
Turn west toward the taller tower behind you. Use both dashes to reach its upper platform, then search to the right for another Roasted Poultry platter and Meal Ticket.
The second dash also opens longer crossings around the cemetery and the route toward Obmuer Temple.
Light the First Beacon and Explore the Upper Ruins
Save at Cemetery Precipice, then return to the raised road near the tree. Face southeast to find the next path.
Follow it past the blue lantern and break the crate for an Elixir. Look north toward the broken staircase and use two consecutive air dashes to reach it.
Three Skeletal Fighters guard the stairs. Clear them before approaching the gargoyle; retreat to lower ground if you need more room.
Equip the Azure Torch and strike the gargoyle’s mouth with it. This lights the first beacon toward opening the Tower of Knowledge.
Cross the bridge pillars for another Attack Power upgrade
Walk back down the stairs without dropping to ground level. Face west toward the three bridge pillars.
Dash between the pillars to reach the headstones on the far side. Search south for an Ancient Coin, then continue west around the curved wall.
Two Skeletal Archers wait around the corner. Use Azure Torch fireballs and Throwing Daggers to attack from range rather than rushing between them.
Farther along the wall is another platter containing Broiled Meat and a Meal Ticket. From this elevated route, you can also see the other two unlit beacon structures.
Approach the Chilopoda cliff carefully
At the end of the curved wall, follow the straight path south. Break the barrel for an Elixir, then stop before jumping to the cliff occupied by Chilopodas.
Attack visible enemies from your current ledge. Jump straight up when firing the Azure Torch to help its projectiles clear the rock face.
Additional Chilopodas hide beneath small bumps in the ground. Strike those bumps to draw them out individually before moving through the area.
A Mossy Golem can also appear here. Skip that fight if your goal is to reach the next area; clearing the cliff provides optional loot, including a crate with two Radiant Fruit for improving visibility in dark areas.
Double dash over the broken wall beyond the cliff. After handling the Skeletal Fighter, search for:
- An Ancient Coin in a skeleton’s mouth.
- A crate containing an Iron Pineapple and Brawler’s Berries.
- A lower tower to the southwest containing a Panacea, reached by jumping down and Wind Dashing toward it.
Reach Obmuer Temple and Use Your Return Options
Return to the Knight’s Encampment Crystal Monument, the save point near the beginning of the game, and save before making the crossing to the next area.
Climb the nearby stairs and pass the left side of the broken tower. Continue southwest toward the broken bridge.
With two Wind Dash charges available, jump and dash twice across the gap. Move straight ahead after landing to reach the Crystal Monument at Aganmi’s Camp outside Obmuer Temple.
Keep the three travel methods separate
The shop connection, emergency return items, and zone travel serve different purposes. For longer trips, use these travel options:
| Travel option | Destination | Consumption |
|---|---|---|
| Travel Crystal Fragment | Last Crystal Monument you saved at | Consumed on use |
| Wing Altar | Other discovered Wing Altars | Travel through the altar network |
| Wing Stone Fragment | Any discovered Wing Altar from your current location | Consumed on use |
As you finish dungeons, look for doors, ramps, and elevators that reconnect with earlier paths. Open these shortcuts before leaving, and save after bringing a key item or permanent upgrade back to a Crystal Monument.
Continue with
 Queen's Domain Map Guide: Routes, Keys, and ShortcutsNavigate Queen's Domain map with routes to Endu, Wind Gems, Obmuer Temple, and the Tower of Knowledge, plus shortcuts and fast travel tips for exploration.
More in Exploration
Queen's Domain All Hidden Passage Guide: Early Secrets
Queen's Domain all hidden passage guide: find three secret walls, collect Pandora's sword, and unlock overlooked routes through the Tower of Knowledge.
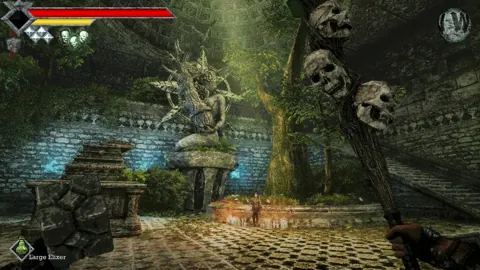
Queen's Domain Shop Location: Unlock the Duck Merchant
Find the Queen's Domain shop location, unlock Umbada's Trading Outpost with the Stone Duck Figurine, and learn what to buy with your early Ancient Coins.
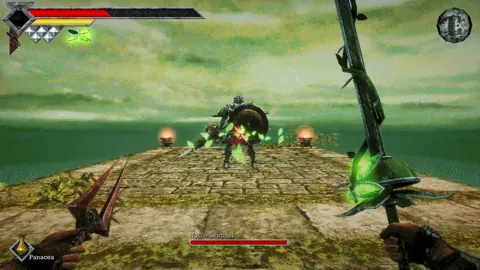
Queen's Domain Sword Jump: Wind Dash and Demo Timing
Learn the Queen's Domain sword jump, unlock Wind Dash, find the second Wind Gem, and understand the demo lunge trick before tackling much longer gaps.
Queen's Domain Wind Dash: Unlocks and Wind Gem Guide
Master Queen's Domain wind dash with the Holy Sword Endu, find early Wind Gems, and unlock double and triple air dashes to explore the isle's hidden paths.
Join the community
Official channels for news, updates and player help: