Queen's Domain Stamina: Power Meter and Combat Tips
Let the yellow Power Meter beneath your health bar recover before your next melee strike. Repeated swings with an empty meter deal less damage.
Jump to
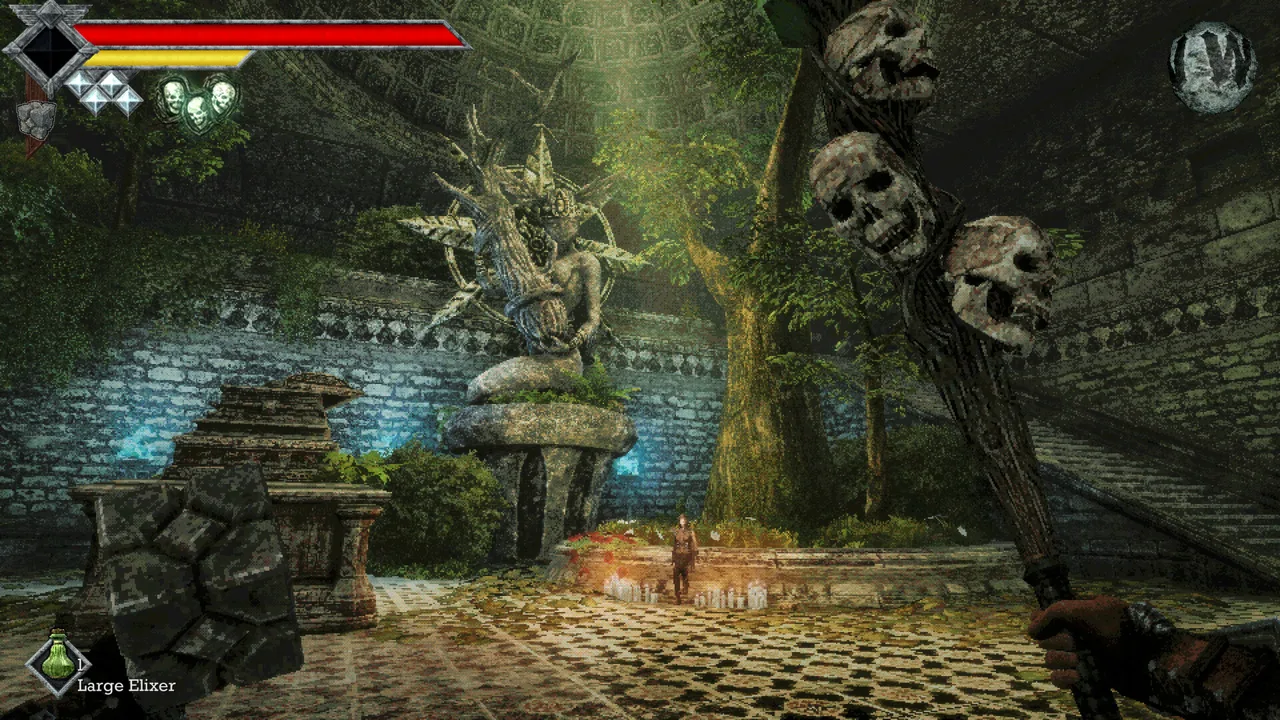
How the Power Meter Affects Your Damage
Swinging faster can turn an ordinary enemy into a painfully long fight. Queen's Domain stamina directly affects melee damage through the yellow Power Meter beneath your health bar. Letting it recover gives your next strike the strength that repeated swings at an empty meter lack.
A full yellow meter lets a normal melee hit deal full damage. An empty meter produces very little damage, and attacking repeatedly leaves almost no opportunity for recovery. That makes your attack rhythm part of your damage output, alongside your weapon and the enemy’s resistances.
Start with this sequence:
- Approach with a full Power Meter.
- Wait for the enemy to attack, keeping outside its reach.
- Step in and land a hit during its recovery.
- Back away and let your meter refill.
- Attack again when you have both enough power and a safe opening.
Watch the space behind you while retreating. A wall, ledge, or second enemy can cut off the room you need between strikes.
Breakable objects follow the same lesson. If a crate barely reacts to repeated swings, stop attacking and let your power recover before hitting it again.
Official page: Queen's Domain (store.steampowered.com)
Time Charged Attacks Around Enemy Openings
Hold the primary attack button—left-click by default on PC—to prepare a charged attack. The Power Meter gradually turns blue as you prepare a stronger attack.
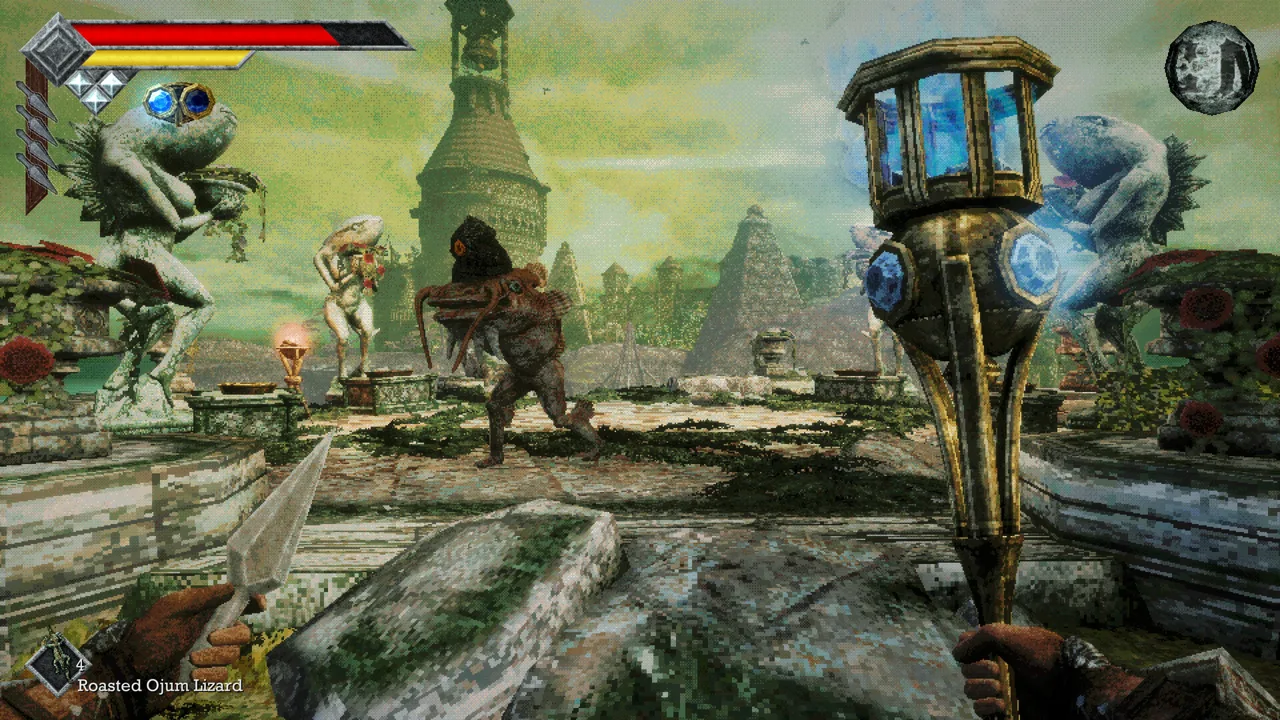 Image: Steam / Freshly Baked Games LLC
Choose your opening before committing. If an enemy is already closing the gap, leave yourself enough room to move out of its attack range.
Release a partially charged attack when the opening demands it. Even a short charge can add useful damage; holding out for a complete blue meter is a poor trade if the enemy hits you before you release.
Against slower enemies, charge from outside their reach, bait an attack, and move in after it finishes. Against enemies with long lunges, back away farther before preparing the next blow.
Stop Sprinting Before You Need to Fight
Running quickly empties the Power Meter. You can continue running after it reaches zero.
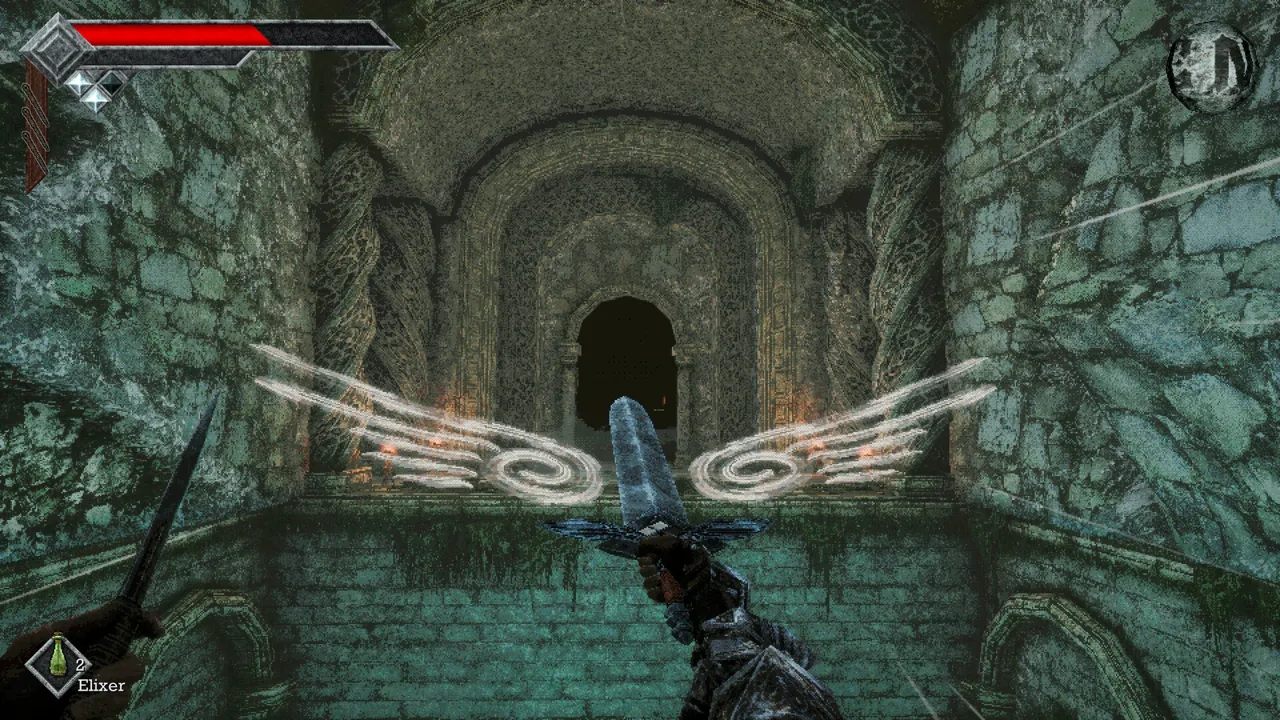 Image: Steam / Freshly Baked Games LLC
That creates an easy mistake: sprinting straight toward an enemy and immediately swinging. You arrive quickly, then attack with depleted power.
Release sprint before entering melee range and give the yellow bar time to recover. Use ordinary movement to adjust your spacing once the fight begins whenever you can safely do so.
If you need to escape, keep running until you reach a safer position. Then stop and recover before turning to fight. An empty meter does not end your retreat.
Watch Your Wind Dash Charges
The Holy Sword Endu adds Wind Dash charges, displayed as diamonds near your stamina bar. Each dash consumes one diamond, and those charges replenish over time. Finding additional Wind Gems increases the number of available dashes.
After dashing into position, check the yellow bar before attacking. Keep an escape route available, especially when crossing into an area with several enemies.
Use Throwing Weapons Between Melee Attacks
The Dagger Belt gives you throwing weapons that return after a recharge period. With Throwing Daggers equipped, the dagger icons on your HUD show how many throws are available.
 Image: Steam / Freshly Baked Games LLC
Use them during the gaps between melee strikes:
- Land a melee hit with a recovered Power Meter.
- Retreat beyond the enemy’s reach.
- Throw an available dagger while your melee power recovers.
- Begin charging your next melee attack once you finish throwing.
Daggers also let you draw an enemy toward a clearer fighting area. Pull a nearby target away from a group instead of walking into several overlapping attack ranges.
On the Isle of Neasied, use Throwing Daggers to eliminate Forest Eyes before taking on nearby ground enemies. Removing their sweeping lasers gives you more freedom to watch attack animations and manage your spacing.
Match Your Weapon to the Enemy’s Resistance
A recovered Power Meter cannot fix a poor damage matchup. Enemies have separate weaknesses and resistances to Slash, Pierce, and Impact damage, which you can inspect in the Bestiary.
Your early melee equipment covers all three:
| Weapon | Damage type |
|---|---|
| Rusted Short Sword | Slash |
| Rusted Spear | Pierce |
| Wooden Club | Impact |
You can equip up to three melee weapons. Carry different damage types so you can change weapons when an enemy resists your current attacks.
Read the weapon’s description rather than judging its damage type by its animation. A sword’s thrusting motion does not automatically make that attack deal Pierce damage.
Use the Wooden Club’s Impact damage against Skeletal Fighters, but account for its slow swing. Prepare the attack with enough distance to finish the motion safely.
The Rusted Spear offers another useful tool: its special attack automatically moves you backward. Use that retreat to create separation after a poke, provided you have enough stamina to activate it.
Weapons also gain damage as they level through use. Keep developing weapons you rely on, while switching damage types when an enemy’s resistance makes the matchup unfavorable.
Create Space When Recovery Gets Risky
Create more distance before preparing another attack if enemies keep reaching you before your meter refills. Bait their attacks from outside their reach, then step in during an opening.
Resting at a Crystal Monument fully restores health. It also respawns enemies, so prepare to fight again when you leave.
Practice the Timing Near the Starting Crystal Monument
Use the early Ratty Bug encounter to learn how much space your attacks require.
From the Crystal Monument beyond the opening barricade, approach the stairs and attract a Ratty Bug. Lead it back down, moving far enough away from the Forest Eyes’ lasers before stopping to fight.
Practice one recovered melee hit at a time. Once that feels comfortable, add a charged attack during the enemy’s recovery, then work throwing daggers into the gaps after obtaining the Dagger Belt.
Rest at the monument if you need health and another attempt. Save separately after collecting equipment or opening a shortcut: saving is manual, and death sends you back to your latest save with later progress lost.
Continue with
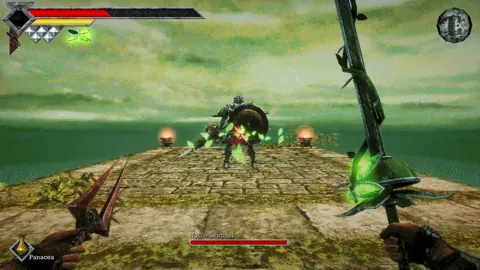 Queen's Domain Combat Guide: Hit Harder, Take LessUse this Queen's Domain combat guide to master the power meter, exploit enemy weaknesses, choose early weapons, and prepare for tougher fights and bosses.
More in Combat
See all CombatContinue exploring

Queen's Domain All Hidden Passage Guide: Early Secrets
Queen's Domain all hidden passage guide: find three secret walls, collect Pandora's sword, and unlock overlooked routes through the Tower of Knowledge.
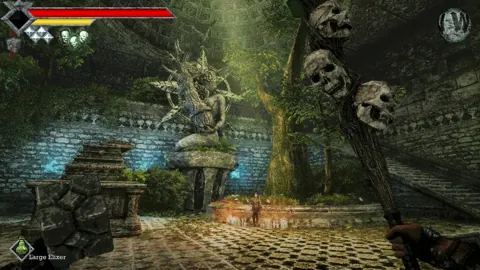
Queen's Domain Exploration Guide: Unlock Every Route
Use this Queen's Domain exploration guide to find Endu, unlock Wind Dashes, collect permanent upgrades, and reach Obmuer Temple without losing progress.
Join the community
Official channels for news, updates and player help: