
Queen's Domain Walkthrough: Reach the Mausoleum Gate
Follow this Queen's Domain walkthrough from the beach to the mausoleum, with Wind Gem locations, all four slates, gargoyle solutions, and boss strategies.
Jump to
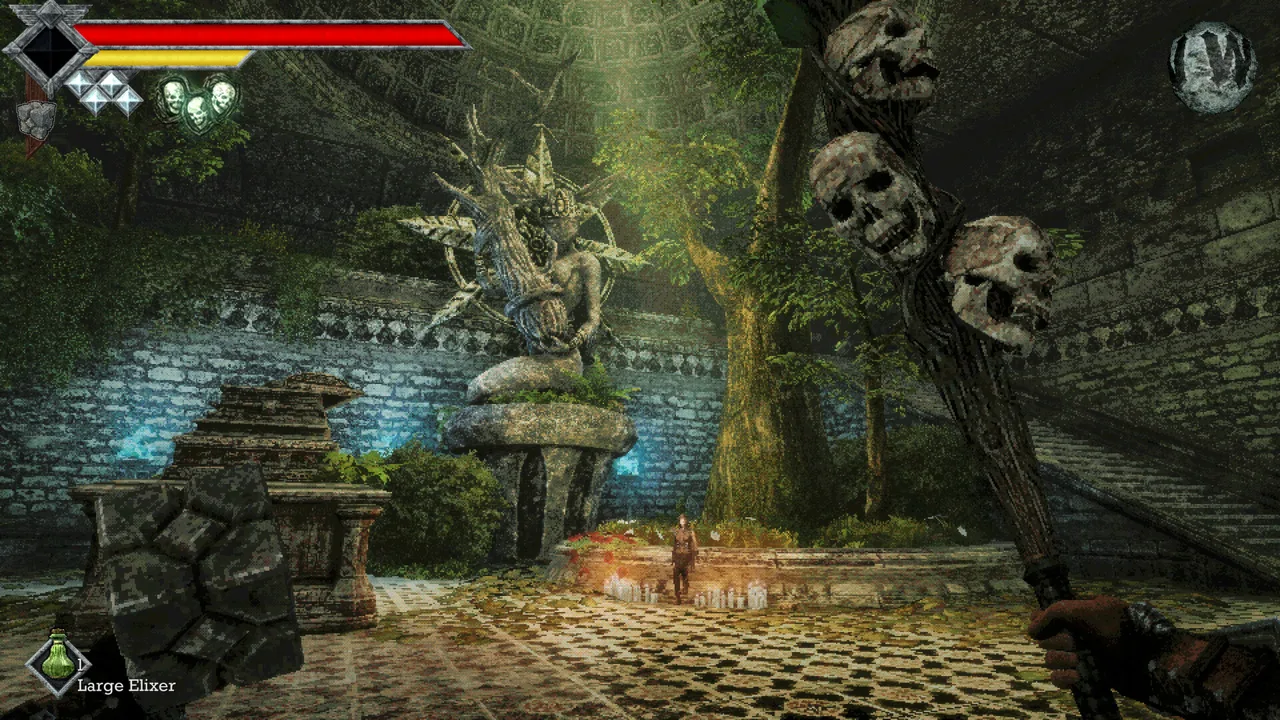
Beach and Crypt: Get Your Weapons and Shrine Key
The enormous door beside the opening camp is a destination you’ll reach much later. This Queen's Domain walkthrough takes you from the beach through Obmuer Temple and the Tower of Knowledge to the mausoleum entrance, covering the upgrades and puzzles that open the route. Follow the progression below while leaving room to explore the ruins between objectives.
| Area | Main objective | Key items or rewards |
|---|---|---|
| Starting beach and crypt | Equip throwing weapons and unlock Endu Shrine | Dagger Belt, Wooden Club, Endu Shrine Gate Key |
| Endu Shrine | Defeat the Shrine Guardian | Holy Sword Endu, Stone Duck Figurine |
| Cemetery Precipice and island ruins | Extend your dash and light two beacons | Second Wind Gem, access toward Obmuer Temple |
| Flooded ruins | Collect four triangular slates | Obmuer Temple entrance |
| Obmuer Temple | Find the third Wind Gem and defeat the Sea King | Route to the third beacon |
| Tower of Knowledge | Solve the gargoyle and rotating staircase puzzles | Storm Gem, Forbidden Archives Key |
| Forbidden Archives | Defeat the Necronomicon | Acid vial and passage toward the mausoleum |
Opening Route
-
Speak to Commander Ekonta at the campfire. Equip the Rusted Short Sword he gives you. Collect the nearby Dried Herbs and break the crate behind him for Elixirs.
-
Break the wooden barricade west of camp. The Crystal Monument behind it is your starting save point. Manually save here: resting restores health and clears status effects, but it does not replace saving. Resting also respawns enemies.
-
Make the Dagger Belt your next objective. Go up the stairs beyond the monument, take the first right through the gap in the rocks, then turn right onto the coastal path. Run past the bugs and Forest Eyes until you reach two small offshore islands. Jump across them and collect the belt from the branch on the farther island.
-
Equip the belt and Throwing Daggers. You begin with three daggers that replenish over time. Use them to destroy the laser-firing Forest Eyes before fighting nearby ground enemies.
-
Collect the Rusted Spear on your return. Defeat the Chilopoda guarding the small tower along the coastal route, then open the chest inside. Use the spear’s backward-moving special attack to create space during close fights.
-
Find the underground crypt. From the starting monument, follow the uphill route northwest and clear the enemies below the drop. In the lower area, hit the diamond-shaped switches beside the doors with a throwing dagger. One passage reconnects to the starting area; the other leads underground.
-
Search the crypt before taking the elevator out. On the first lower floor, open the chest in the northern room for the Wooden Club. Continue downstairs, clear the shrine room, and collect the Endu Shrine Gate Key from the central shrine. The elevator beyond this floor returns you to the hillside above your starting monument.
Watch your yellow Power Meter throughout this section. Attacking repeatedly while it is empty produces weak hits. Land a strike, retreat while the meter refills, then attack again. Hold the primary attack button to charge a stronger blow when you have enough room.
Optional pickups:
- Life Charm: In a chest east of the underground shrine; equip it for roughly 10% more HP.
- Ancient Coins: Search bowls, skeletons, and breakable containers.
- Healing items: Check the camp and crypt containers before spending your supplies.
Before pushing deeper, install version 1.01.01. The October 31 update addresses several problems that can interrupt exploration:
| Version 1.01.01 fix | What it addresses |
|---|---|
| Weapon evolution freeze | Freezing when weapons evolve |
| Water return pits around Neasied | Missing return pits after falling into water |
| Star Lizard loot bags | Bags becoming stuck in midair |
Official page: Queen's Domain (store.steampowered.com)
Endu Shrine: Defeat the Guardian and Claim Your Dash
Return to the Crystal Monument, heal if necessary, and save before heading back toward the Dagger Belt beach.
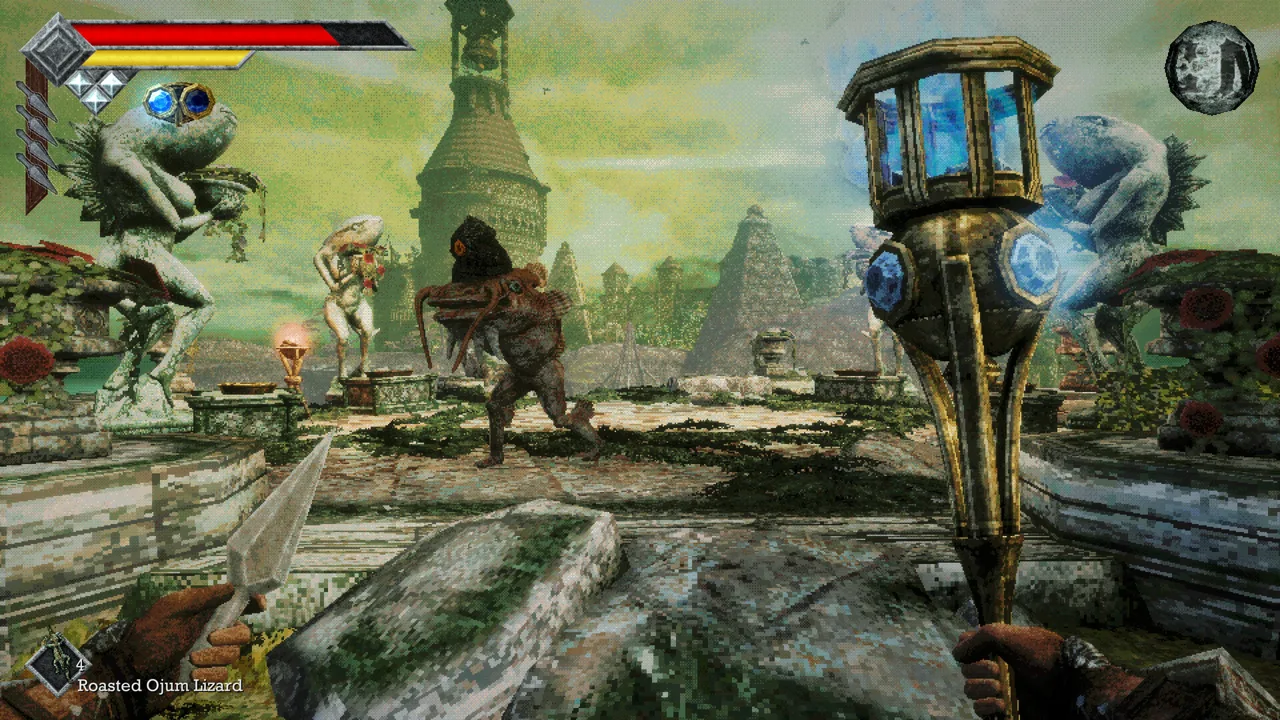 Image: Steam / Freshly Baked Games LLC
-
Follow the coast beyond the two small islands. Look for the fenced shrine with a guard outside. Use the Endu Shrine Gate Key to enter.
-
Fight the Shrine Guardian with room behind you. Equip the Wooden Club to exploit the skeleton boss’s weakness to impact damage. Back away when it raises its sword overhead; that strike reaches farther than its ordinary swings. Throw daggers while maintaining distance, then move in for a deliberate melee hit.
-
Speak to the defeated guardian. Collect the Stone Duck Figurine, then take the Holy Sword Endu from the shrine.
-
Equip Endu and practice Wind Dash. Its starting Wind Gem gives you one aerial dash. Learn its distance on safe ground before committing to a gap.
-
Return to a Crystal Monument to access the shop. The Stone Duck Figurine unlocks Umbada’s Trading Outpost. Sell treasure such as Filthy Loot Sacks for Ancient Coins, and buy extra Throwing Daggers to increase how many you can throw before waiting for them to return.
-
Visit the Tower of Knowledge entrance for the Azure Torch. Cross the broken bridge east of the starting area with Wind Dash, then follow the uphill path to the tower. Take the glowing torch beside the entrance. The tower remains sealed until you light three beacon gargoyles across the island.
Keep the Azure Torch equipped to let its magical energy recharge, even while another equipped weapon is active. Its secondary attack launches a blue fireball that can burn enemies over time.
Optional pickups:
- Shop supplies: Break the barrels and crate around the trading outpost for healing items and other loot.
- Broiled Meat: Wind Dash to the raised food platter north of the stairs near the starting monument. Eating it permanently increases Attack Power.
- Roasted Poultry: Another platter sits on an upper ledge near the tower beyond the eastern cliff gap. Eating it permanently increases health.
- Meal Tickets: Check beneath the food on each platter.
- Ratty Bug Compendium: Break the crate near the injured knowledge keeper’s remains below the broken bridge near the tower entrance.
Cemetery Precipice: Find the Second Wind Gem and Light Two Beacons
Your next movement upgrade lets you chain two air dashes. That opens both the beacon route and the broken bridge toward Obmuer Temple.
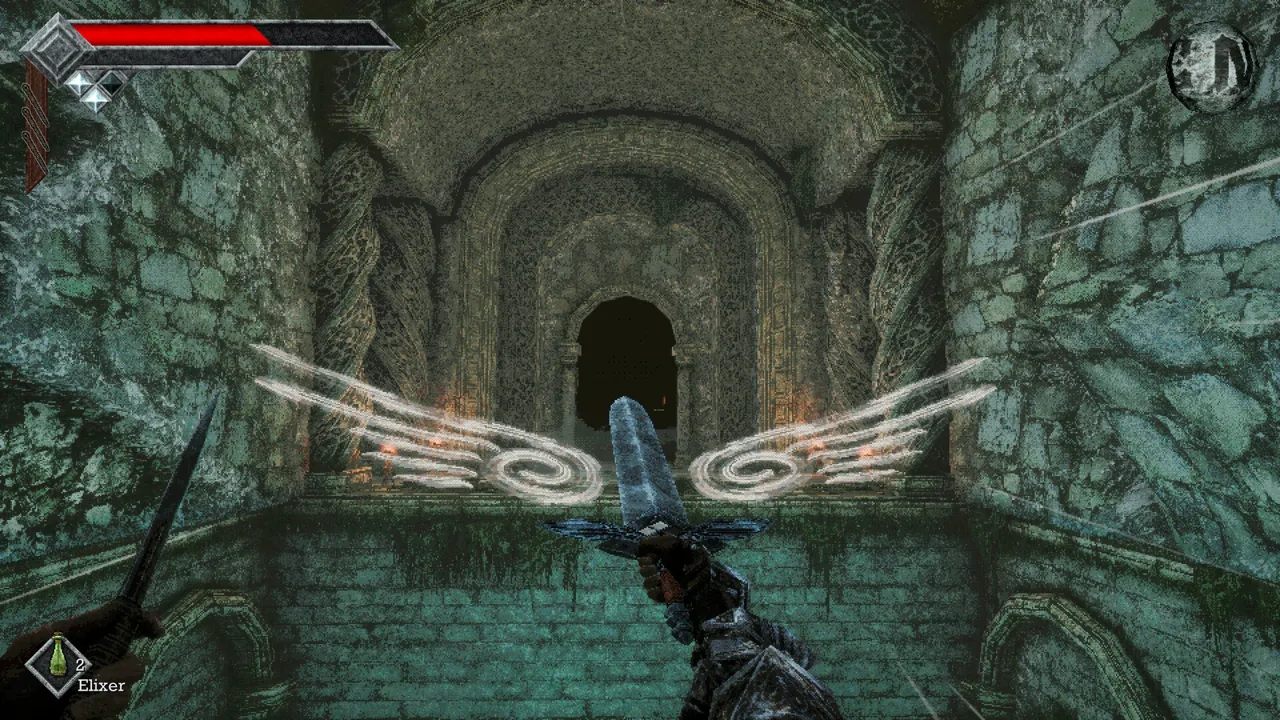 Image: Steam / Freshly Baked Games LLC
-
Reach the Cemetery Precipice Crystal Monument. From the starting area, climb the eastern hillside and follow the upper paths. Cross the gap toward the monument’s blue glow using Endu, then save.
-
Find the climbable rubble east of the monument. Follow the wall east until the raised route drops low beside a tree. Climb the rubble, follow the road north, and turn west at its end.
-
Cross the broken towers to the second Wind Gem. Dash onto the ruined tower, then jump from its rubble to the smaller tower holding the gem. Collecting it adds a second Wind Dash charge.
-
Light the first beacon. Return toward the raised route near Cemetery Precipice. Follow the path past the blue lantern, then use two air dashes to reach the broken staircase. Defeat the skeletons at the top and strike the gargoyle’s mouth with the Azure Torch.
-
Open the route to the second beacon. Above the starting Crystal Monument, near the route used to reach Cemetery Precipice, use your improved dash to reach the higher area with an elevator back to ground level.
-
Circle north from that elevator. Find the second beacon gargoyle beside a locked gate and light it with the Azure Torch. Leave the gate for later.
-
Head toward Obmuer Temple. Cross the broken bridge toward the temple with two Wind Dashes, then save at the Crystal Monument on the other side.
Save after collecting the gem and lighting the beacons. Those upgrades and puzzle completions are worth securing before another long excursion.
Optional pickups:
- Roasted Poultry and Meal Ticket: With two dashes, reach the upper platform of the tower west of the second Wind Gem.
- Extra Throwing Dagger: Check the chest along the upper route before Cemetery Precipice.
- Star Lizard treasure: Sell the Filthy Loot Sacks dropped by the lizards around the cemetery paths to fund more throwing weapons.
Flooded Ruins: Find All Four Triangular Slates
The temple door requires four triangular slates scattered through the ruins outside. Search elevated surfaces as carefully as the ground; several pieces sit on broken masonry.
 Image: Steam / Freshly Baked Games LLC
-
Take the eastern branch behind the circular fish area. Behind the circular section containing small red fish, turn east. Find a slate on a rock guarded by skeletons.
-
Climb the broken wall west of that location. Follow the damaged masonry upward to reach another slate on the ruined columns.
-
Search below the Trident area. From the main platform where skeletons gather and the Trident weapon is found, drop down and head into the western corner for the third slate.
-
Dash to the large central platform. The remaining slate rests on a large broken platform or column in the middle of the ruins. Skeletons awaken when you arrive, so collect the piece and retreat if the platform becomes crowded.
-
Bring all four slates to the rear door. Insert them to open Obmuer Temple.
You cannot swim. Plan jumps from solid ground, and clear nearby threats before lining up a crossing.
Optional pickup:
- Trident: Collect the weapon from the skeleton-filled main area. Raising it to maximum level later produces a Trident Key for optional temple treasure.
Obmuer Temple: Get the Third Wind Gem and Defeat the Sea King
Inside the temple, prioritize the third Wind Gem and the route through the large cavern. The room with multiple Trident Key sockets can wait.
-
Find the first Trident Key near the entrance. Drop into the watery section and collect the key. Use it to continue toward the second Crystal Monument.
-
Enter the opening below the large pit. From the second monument, look down into the pit for a hole in the wall. Wind Dash into that opening and explore the connected area.
-
Collect the third Wind Gem. Search this section, including the upper area where skeletons ambush you. Another Trident Key is also found around that ambush. The gem increases your available air dashes to three.
-
Return to the large pit and cross it. Chain your three Wind Dashes to reach the far side and continue toward the next monument.
-
Pass through the room with multiple key sockets. You do not need to complete the four-key treasure puzzle to advance. Only two Trident Keys are found inside the temple itself.
-
Defeat the three Royal Guard sub-bosses in the large cavern. Explore the cavern until all three are down. Their defeat opens the door leading to the Sea King.
-
Defeat Dagoom the Sea King. Use throwing weapons while keeping room to maneuver. Apply burning damage with the Azure Torch, and use Wind Dash to escape the current and poisoned water. Switch to slash attacks against the smaller fish enemies.
-
Light the third beacon after leaving the dungeon. Use the Azure Torch on the final gargoyle along the exit route. A nearby fast travel point returns you toward the starting region, close to the second beacon and its locked gate.
With all three beacons burning and the bell rung three times, return to the Tower of Knowledge.
The Optional Four-Key Puzzle
Two Trident Keys come from the temple, one comes from leveling the Trident weapon to maximum, and the fourth becomes available at the shop after defeating the Tower of Knowledge boss. Leave the full set of sockets for a return trip if you want to keep progressing.
Tower of Knowledge: Solve the Gargoyles and Rotating Staircase
The tower introduces enemies that inflict a range of status effects. Put healing items and relevant remedies in your quick slots before climbing. Check your status when a familiar attack suddenly stops working.
-
Enter the unsealed tower and work upward. Ignore the obstructing faces and fleshy growths for now. Removing them requires the reward from this area’s boss.
-
Find the balcony with numbered gargoyles. Three plaques explain the puzzle, including one among the rubble.
-
Light gargoyles 3 and 7 with the Azure Torch. These are the two required statues. Lighting incorrect ones triggers an attack involving book-like creatures.
-
Return inside through the newly opened door. Follow the route to the next Crystal Monument, then climb the stairwell toward the upper fast travel point.
-
Collect the Storm Gem above the massive staircase. This upgrade activates Endu’s special attack meter.
-
Look beneath the Storm Gem platform for the next route. Air dash to the switch that rotates the staircase. The locked doors near the gem are opened later.
-
Climb the rotated stairs and take the elevator down. Speak to the knight below to receive the Forbidden Archives Key.
-
Return to the locked doors near the Storm Gem. Open them with the key, use the next Crystal Monument, and prepare for the enemy gauntlet leading to the Necronomicon.
Optional pickups:
- Occult Knives: Explore the route reached by dropping through the tower’s trapdoor.
- Fast travel access: Activate the upper waypoint before continuing into the archives.
- Additional secrets: Remember the locations of fleshy obstructions for your return after the boss.
Forbidden Archives: Beat the Necronomicon and Open the Mausoleum Route
Save before taking the elevator toward the final stretch of enemies. Bring your available throwing weapon types and keep the Azure Torch equipped.
-
Fight the Necronomicon from a distance. Use throwing weapons while avoiding its ranged attacks and status effects. Add burning damage with the Azure Torch when you have a clear opening.
-
Move in when the book falls. Use its vulnerable periods to land melee attacks, then create space again.
-
Retreat during the goat transformation. Keep your distance until it returns to book form, then resume your ranged pressure.
-
Collect the acid vial after winning. It coats your basic Throwing Daggers with acid, allowing them to destroy the fleshy obstructions throughout the tower.
-
Return to the knight who gave you the Forbidden Archives Key. He is now dead. Use an acid-coated basic dagger on the nearby fleshy obstruction to reveal the passage forward.
-
Follow the newly accessible route toward the mausoleum. This route also lets you open the enormous door beside the camp where your journey began.
Optional pickups:
- Previously blocked tower treasure: Revisit the fleshy barriers with your acid-coated daggers to uncover additional weapons and hidden spaces.
- Return routes: Use discovered fast travel points to travel between areas while collecting anything you left behind.
Continue with
 Queen's Domain Accessories: Stats, Charms, and ShopsLearn how Queen's Domain accessories affect your stats, where to find and buy them, and how to choose resistance bonuses against dangerous island enemies.
More in Guide
Queen's Domain Achievements: All 53 Unlocks and Route
Track 53 Queen's Domain achievements with exact unlock requirements, collectible goals, boss milestones, four endings, and a practical completion route.
Queen's Domain Beginner Guide: Survive Your First Hour
Queen's Domain beginner guide: learn combat timing, find early weapons, save safely, uncover hidden routes, and prepare for your first boss on Neasied.
Queen's Domain Demo Guide: Daggers, Keys & Boss Tips
Explore the Queen's Domain demo with a route to the Dagger Belt, shrine key, and boss, plus combat tips that help you save herbs and protect progress.
Queen's Domain Difficulty: Combat and Survival Tips
Queen's Domain difficulty gets easier when you understand stamina, throwing weapons, and saving. Learn how to survive early fights and find stat upgrades.
Continue exploring
Queen's Domain Exploration Guide: Unlock Every Route
Use this Queen's Domain exploration guide to find Endu, unlock Wind Dashes, collect permanent upgrades, and reach Obmuer Temple without losing progress.
Queen's Domain Map Guide: Routes, Keys, and Shortcuts
Navigate Queen's Domain map with routes to Endu, Wind Gems, Obmuer Temple, and the Tower of Knowledge, plus shortcuts and fast travel tips for exploration.
Join the community
Official channels for news, updates and player help: