
Queen's Domain Level Up Guide: XP, Weapons, and Food
Queen's Domain level up tips for earning XP, upgrading weapons, finding permanent food boosts, and getting ready to take on the Shrine Guardian boss fight.
Jump to
How to Level Up in Queen's Domain
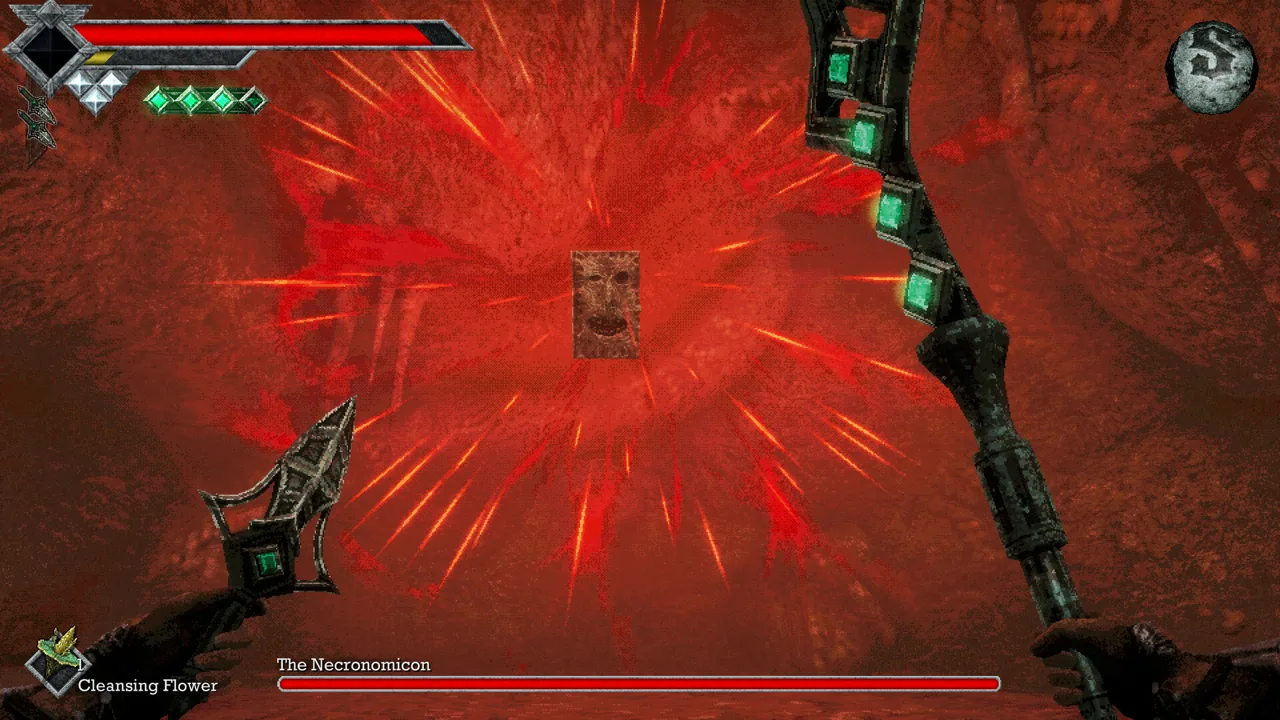
Tough fights become more manageable when you strengthen both your character and the weapon in your hand. This Queen's Domain level up guide covers earning EXP from enemies, improving melee weapons through use, and finding food that permanently raises your stats. Understanding those separate upgrades helps you prepare for bosses without spending hours repeating fights that barely improve your setup.
Character levels increase automatically when you earn enough EXP from kills. Each level raises your base maximum Life Points and Attack Power. Open Status & Inventory to see your current level, EXP to Next, and Total EXP.
Weapon progression runs separately: melee weapons gain experience through use and become stronger as they level. Your character level and your equipped weapon’s level are different numbers, so check both when deciding what to improve.
Food and accessories add further benefits:
| Upgrade | How to obtain it | Effect |
|---|---|---|
| Character level | Earn EXP by killing enemies | Increases base maximum Life Points and Attack Power |
| Melee weapon level | Use that weapon in combat | Improves the weapon’s damage |
| Broiled Meat | Find and eat it | Permanently increases Attack Power |
| Roasted Poultry | Find and eat it | Permanently increases health |
| Life Charm | Equip the accessory | Increases maximum Life Points while equipped |
You can check monster EXP values in the Bestiary. Compare those rewards with how safely you can defeat each enemy before choosing a grinding route.
Official page: Queen's Domain (store.steampowered.com)
Fix Your Attack Rhythm Before Grinding
An empty Power Meter can make a leveled weapon feel useless. The yellow bar determines melee attack strength: swinging repeatedly without letting it recover produces very weak hits.
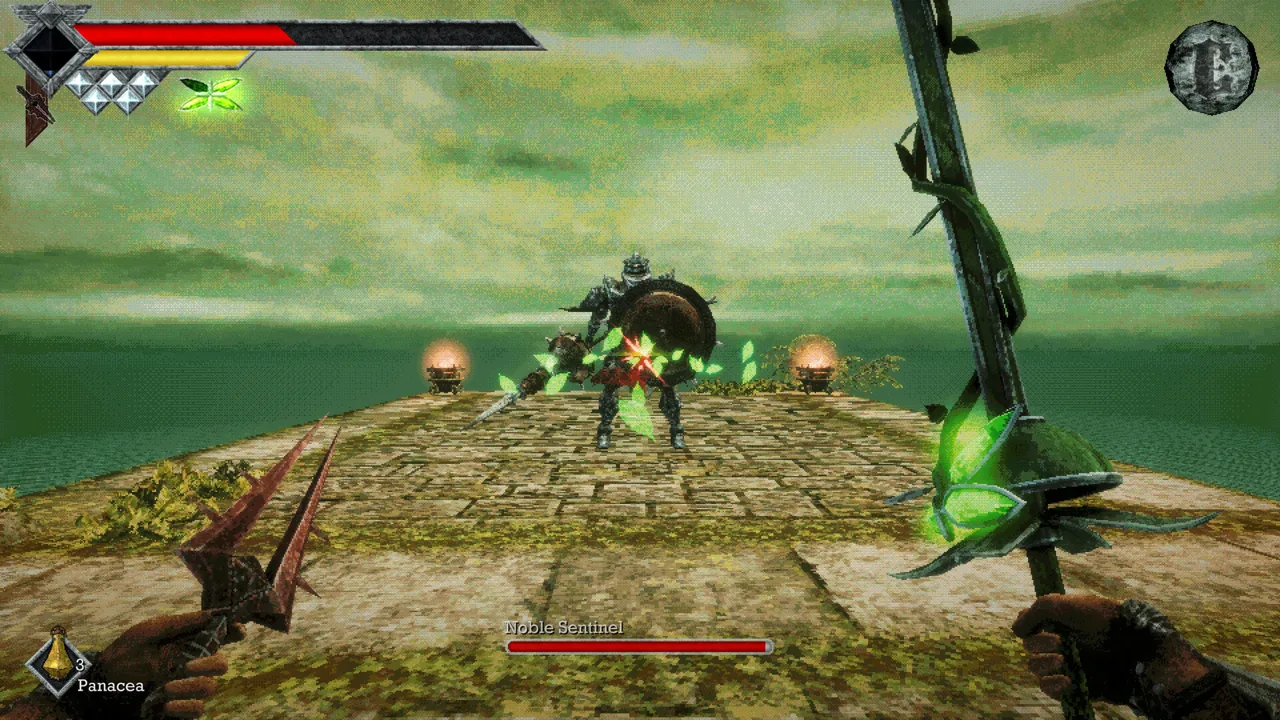 Image: Steam / Freshly Baked Games LLC
Use this rhythm against familiar enemies:
- Let the yellow Power Meter refill.
- Bait an attack while keeping enough room to retreat.
- Strike during the enemy’s recovery.
- Move away and let your power return before attacking again.
Hold the primary attack button to build a stronger charged attack, shown by the meter turning blue. You can begin charging while the Power Meter is recovering.
Charging limits your movement and other attacks. While holding a charged strike, you cannot run, Wind Dash, or throw weapons. Release the attack or abandon the charge when you need to escape.
Running also drains the Power Meter. Stop sprinting before committing to melee so you can attack with power behind the hit.
Match the Damage Type
Carry different damage types and check the Bestiary when something takes unusually little damage.
- Rusted Short Sword: Slash damage; use it against Ratty Bugs.
- Rusted Spear: Pierce damage; use it against Chickets.
- Wooden Club: Impact damage; use it against Skeletal Fighters.
Check the weapon description rather than judging its animation. A sword thrust can still deal Slash damage.
Before grinding another level, also check your current status. Resting at a Crystal Monument removes negative status effects.
Build an Early EXP Loop Around the Crystal Monument
The first Crystal Monument near the knight’s encampment gives you a convenient place to heal, save, and repeat nearby fights. Start with enemies you can isolate rather than pushing into a crowded area with no escape route.
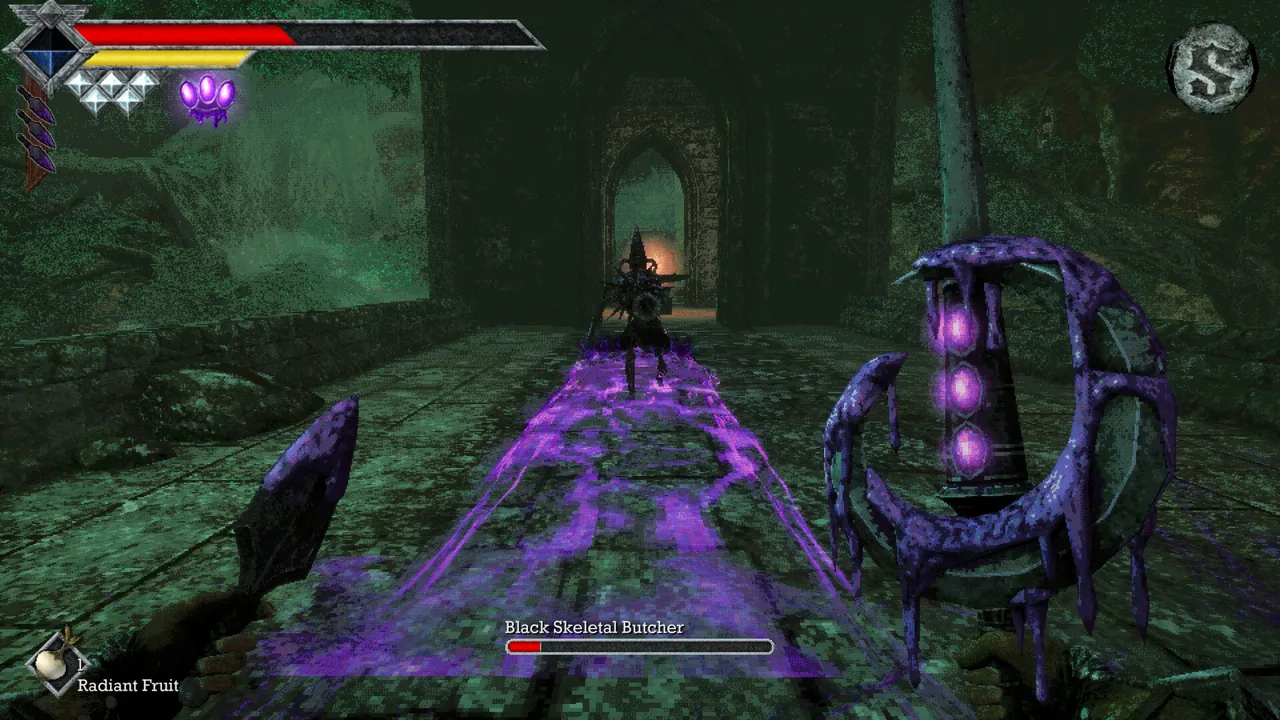 Image: Steam / Freshly Baked Games LLC
Get the Dagger Belt Before Repeating Fights
From the stairs beyond the monument, take the first right through the gap in the rocks, then turn right onto the coastal road. Follow it past the enemies to the two small offshore islands. Jump across and collect the Dagger Belt from the branch on the farther island.
Equip it to gain three rechargeable Throwing Daggers. Use them to remove Forest Eyes above the route and draw individual enemies away from groups.
The daggers return over time, so use their charges to make each pass safer. Let them recharge before entering another cluster of enemies.
Repeat a Short Route You Can Control
Once you have the belt and a melee weapon you can use comfortably:
- Save at the Crystal Monument.
- Head up the nearby stairs and pull a Ratty Bug back toward the monument.
- Fight it away from the Forest Eyes’ sweeping beams.
- Clear additional nearby enemies individually, using daggers to manage their approach.
- Inspect the ground and bushes for drops before returning.
- Rest when you need health, then manually save your progress.
Ratty Bugs can drop Dried Herbs, letting these fights replenish healing supplies alongside EXP. Drops can blend into the terrain, so look around the spot where each enemy died.
Resting and saving are separate actions. Resting restores health and respawns enemies; saving records your progress. Save after a productive run so a later death does not erase the levels, weapon experience, and items you earned.
Enemies also respawn over time. Stay alert when retracing a route you cleared earlier.
Avoid adding the poisonous Chilopoda to your routine until you can handle it safely. Losing healing items to poison can make an otherwise manageable loop expensive.
Prepare for the Shrine Guardian Without Chasing a Specific Level
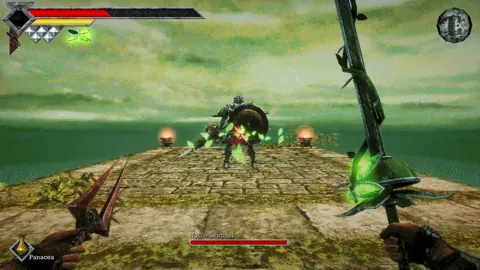
Prepare your equipment, healing supplies, and attack timing before repeatedly challenging the Shrine Guardian. Its skeleton body is weak to Impact damage, making the Wooden Club useful here.
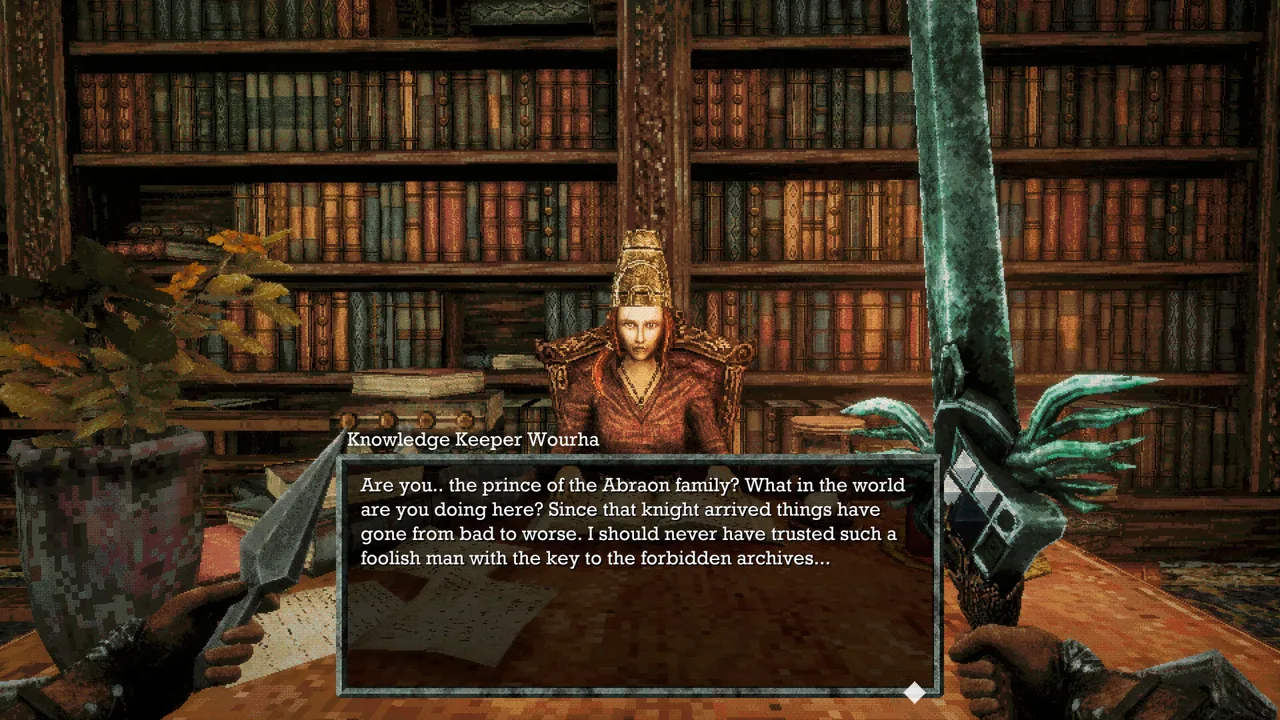 Image: Steam / Freshly Baked Games LLC
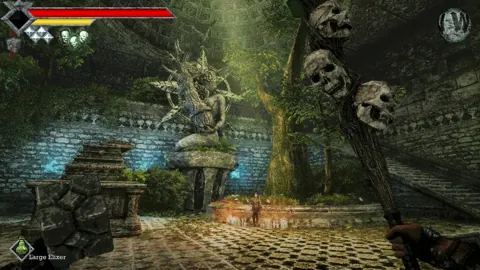
You can collect the club and other preparation items in the underground dungeon:
- Wooden Club: In the chest in the northern room on the first lower floor.
- Endu Shrine Gate Key: On the central shrine on the deeper floor.
- Life Charm: In a wooden chest east of that shrine.
Equip the Life Charm, practice the club’s timing on nearby Skeletal Fighters, and use the dungeon elevator to return toward the Crystal Monument. Rest and save before heading to the Endu Shrine gate near the Dagger Belt’s coastal area.
Bring Dried Herbs and Elixirs, and let your throwing weapons recharge before entering.
Watch the Overhead Strike
The Guardian’s overhead sword attack reaches a long distance. Back away when it raises the blade above its head, then approach after the attack finishes.
Use charged club attacks when you have a clear opening. Keep the Rusted Spear available if its backward-moving special attack makes maintaining distance easier for you.
Do not hold a club charge while trying to sprint away. Release it when you need to reposition, then rebuild your attack after reaching safer ground.
After winning, interact with the Guardian to receive the Stone Duck Figurine, then collect the Holy Sword Endu beyond it. The figurine unlocks shop access through Crystal Monuments, while Endu’s Wind Dash opens routes to additional upgrades.
Keep Leveling Weapons That Unlock More Than Damage
Use a weapon consistently enough to benefit from its growth, while keeping alternatives for enemies that resist its damage type. You can equip three melee weapons, giving you room for different attacks and damage types.
The Rusted Spear’s backward-moving special attack provides reach and repositioning during early fights. Once you obtain Endu, give the sword regular use: it develops into stronger forms as it levels. One later form is Soul Bound Endu, which changes its appearance and improves its stats.
Wind Dash charges come from Wind Gems. Find those gems when you need to cross longer gaps or reach higher platforms.
Keep the game updated before working on weapon evolution:
| Update | Weapon progression fix |
|---|---|
| October 31, 2026 — version 1.01.01 | Fixed a freeze that could occur when weapons evolve |
Find Permanent Stat Upgrades After Getting Endu
Once you have Wind Dash, revisit ledges around the starting area. Food platters provide permanent stat increases alongside your character and weapon levels.
Broiled Meat Near the Starting Stairs
Return to the Crystal Monument and climb the nearby stairs. Face north toward the raised platform with a serving platter.
Jump from the ledge and use Wind Dash to reach it. Skeletal Fighters appear there, so draw them down to open ground and defeat them before returning to collect the food.
Eat the Broiled Meat to permanently increase Attack Power. Pick up the Meal Ticket underneath it, and collect the nearby Dried Herbs.
Roasted Poultry by the Tower
From the starting area, follow the uphill route east toward the gap you previously dropped through. Cross it with Wind Dash.
Look for the platter on an upper ledge beside the tower. Move right to higher ground, then jump and dash onto the ledge. Eat the Roasted Poultry for a permanent health increase and collect its Meal Ticket.
Another Health Upgrade After the Second Wind Gem
Near the Cemetery Precipice Crystal Monument, climb the rubble onto the raised road and follow it north. At the end, look west toward the nearby towers.
Jump and dash onto the broken tower, then cross from its rubble to the small tower holding the second Wind Gem. This adds another Wind Dash charge.
From there, face west toward the taller tower. Use both air dashes to reach its upper platform, then head right to another platter containing Roasted Poultry and a Meal Ticket.
Continue with
 Queen's Domain Review: Is This Retro RPG Worth It?Queen's Domain review explores its secret-filled island, deliberate combat, sword-powered traversal, and launch issues to help you decide whether to buy.
More in Guide
Queen's Domain Accessories: Stats, Charms, and Shops
Learn how Queen's Domain accessories affect your stats, where to find and buy them, and how to choose resistance bonuses against dangerous island enemies.
Queen's Domain Achievements: All 53 Unlocks and Route
Track 53 Queen's Domain achievements with exact unlock requirements, collectible goals, boss milestones, four endings, and a practical completion route.
Queen's Domain Beginner Guide: Survive Your First Hour
Queen's Domain beginner guide: learn combat timing, find early weapons, save safely, uncover hidden routes, and prepare for your first boss on Neasied.
Queen's Domain Demo Guide: Daggers, Keys & Boss Tips
Explore the Queen's Domain demo with a route to the Dagger Belt, shrine key, and boss, plus combat tips that help you save herbs and protect progress.
Join the community
Official channels for news, updates and player help: