Queen's Domain Charged Attacks: Timing and Power Guide
Master Queen's Domain charged attacks with Power Meter timing, weapon weaknesses, and stamina management tips to land harder hits without getting trapped.
Jump to
How to Charge an Attack
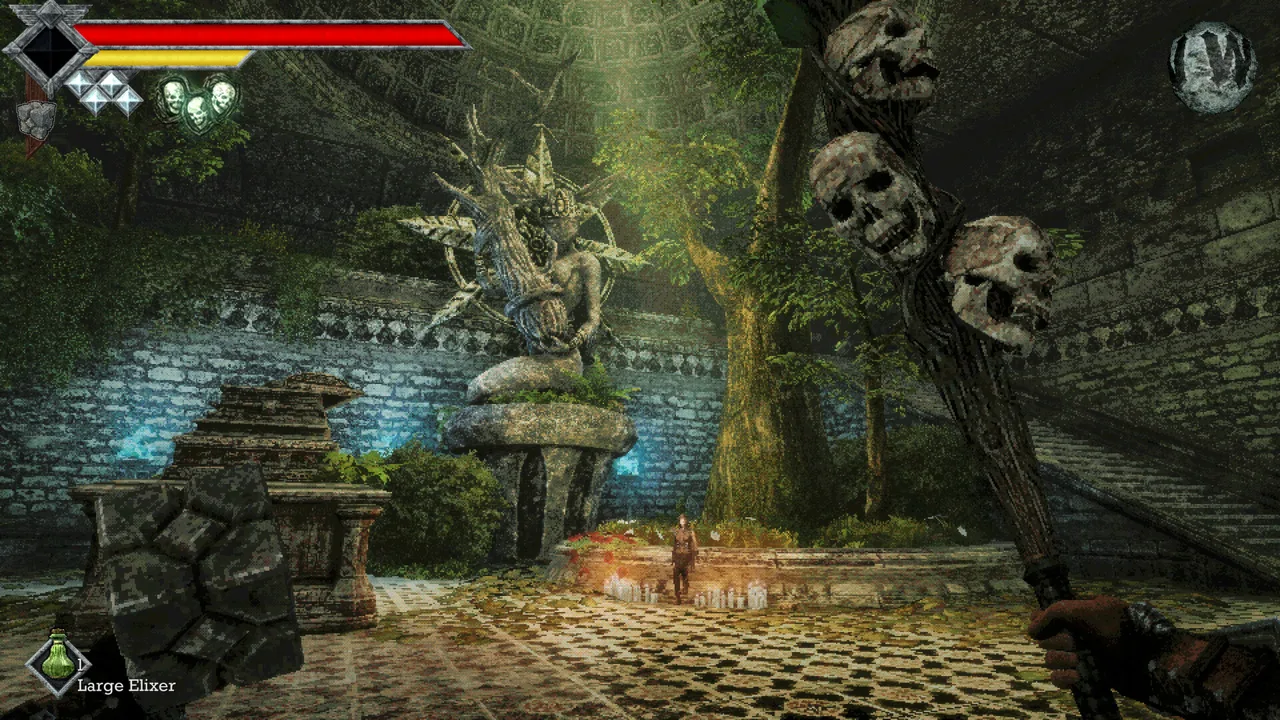
Queen's Domain charged attacks turn a slow exchange of weak swings into a much harder hit. Hold the primary attack button—left-click by default on PC—to build a charge, then release it to strike. Watch the Power Meter turn blue, but keep an eye on the enemy: a stronger attack still needs a safe opening.
The Power Meter controls how much damage your melee attacks deal. Its yellow fill represents your available power, while the blue fill shows your charged attack building.
- Full yellow meter: A regular melee strike deals its full normal damage.
- Depleted yellow meter: Attacks deal very little damage.
- Fully blue meter: Your charged melee strike reaches its maximum damage.
You can begin charging while the Power Meter is still recovering. You do not need to wait for the yellow bar to refill before holding the attack button.
Repeatedly clicking leaves little time for recovery, which makes even ordinary enemies feel unusually durable. Give each swing enough power to matter.
Official page: Queen's Domain (store.steampowered.com)
Time Your Release Around the Enemy's Attack
Start by baiting an attack, staying outside its reach, and striking during the opening afterward. Early enemies such as Ratty Bugs and skeletons give you opportunities to practice this rhythm.
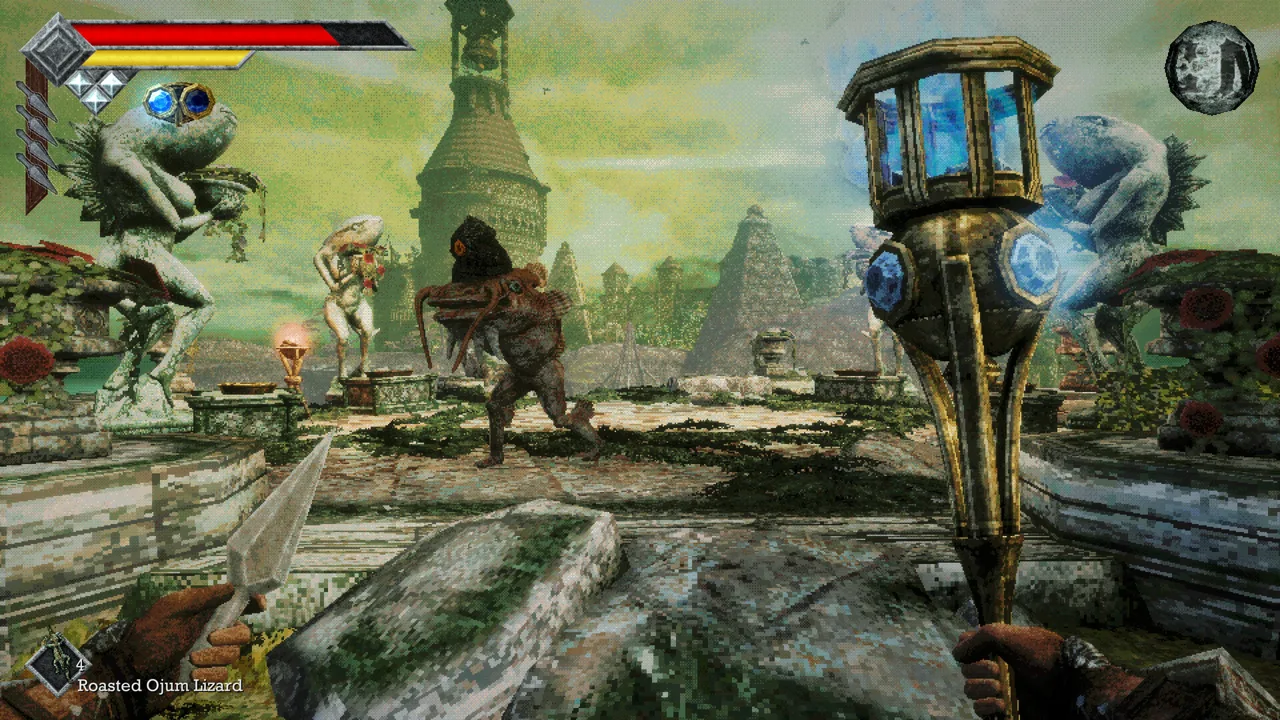 Image: Steam / Freshly Baked Games LLC
Use this sequence against an isolated enemy:
- Check your retreat path. Leave enough space behind you to avoid getting pinned against a wall.
- Let the enemy approach. Watch its attack animation instead of immediately trading hits.
- Build your charge from a safe distance. Remember that charging restricts several escape and ranged options.
- Release into the opening. Step into weapon range after the enemy commits to its attack.
- Back away and recover. Rebuild your Power Meter before the next exchange.
Do not insist on a full charge when the opening is closing. Partial charges still provide useful damage; an early release can let you land a hit before the enemy attacks again.
Account for your weapon's swing animation, too. The wooden club has a lengthy normal swing, so give it room to connect rather than releasing only when an enemy is already on top of you.
Manage Sprinting, Wind Dash, and Throwing Weapons
Running drains the Power Meter. You can keep running after it empties, but it will not recover until you stop. Sprinting straight into melee therefore leaves you with little power for your opening swing.
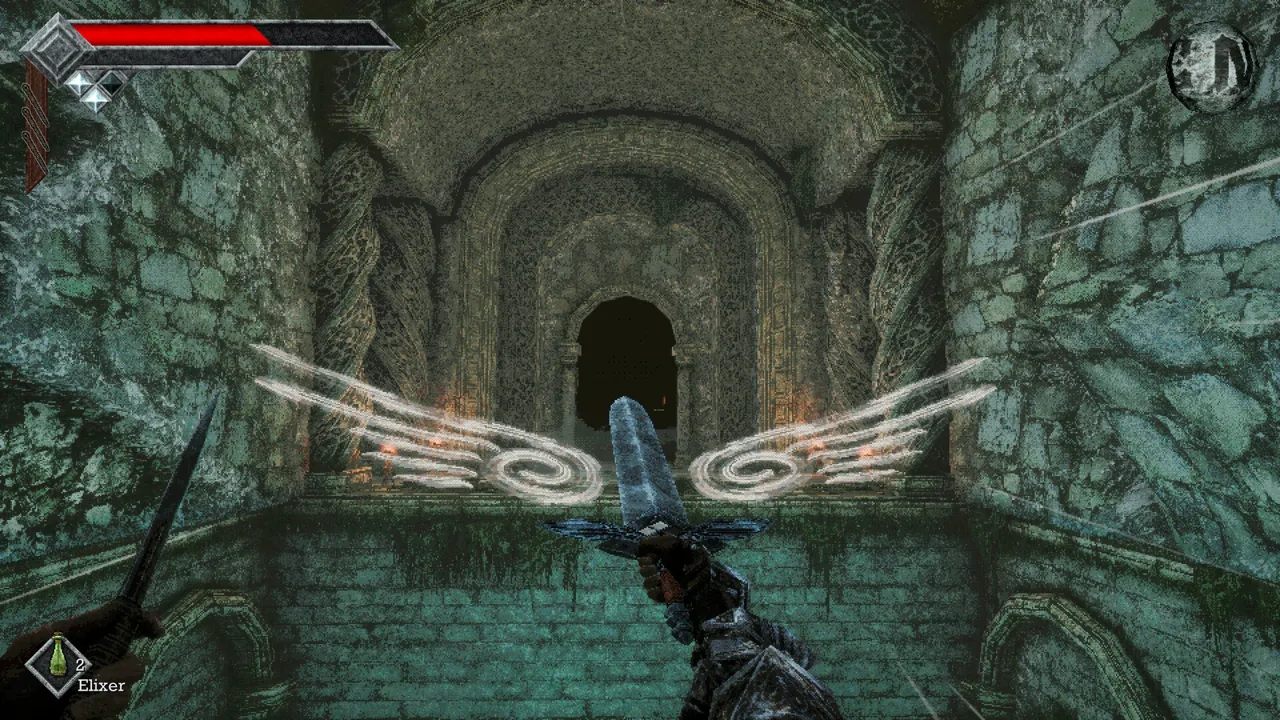 Image: Steam / Freshly Baked Games LLC
Stop running before committing to a fight. Walk into position, let your power recover, and prepare your attack while watching the enemy.
Holding a charged attack prevents you from:
That makes charging a commitment. Clear nearby laser eyes and separate enemies before holding the button, especially in cramped areas.
Throwing daggers help you set up that space. The dagger belt provides reusable daggers that return on a cooldown, letting you draw one enemy away from a group. Throw before beginning your charge, or use your throwing weapons between melee exchanges while your Power Meter recovers.
Once you have Wind Dash, use it to create distance before preparing another charged strike. You cannot activate it while holding the charge.
Match Your Weapon to the Enemy's Weakness
Charge strength and damage type both affect an encounter. A fully charged hit with a resisted weapon can still leave you struggling.
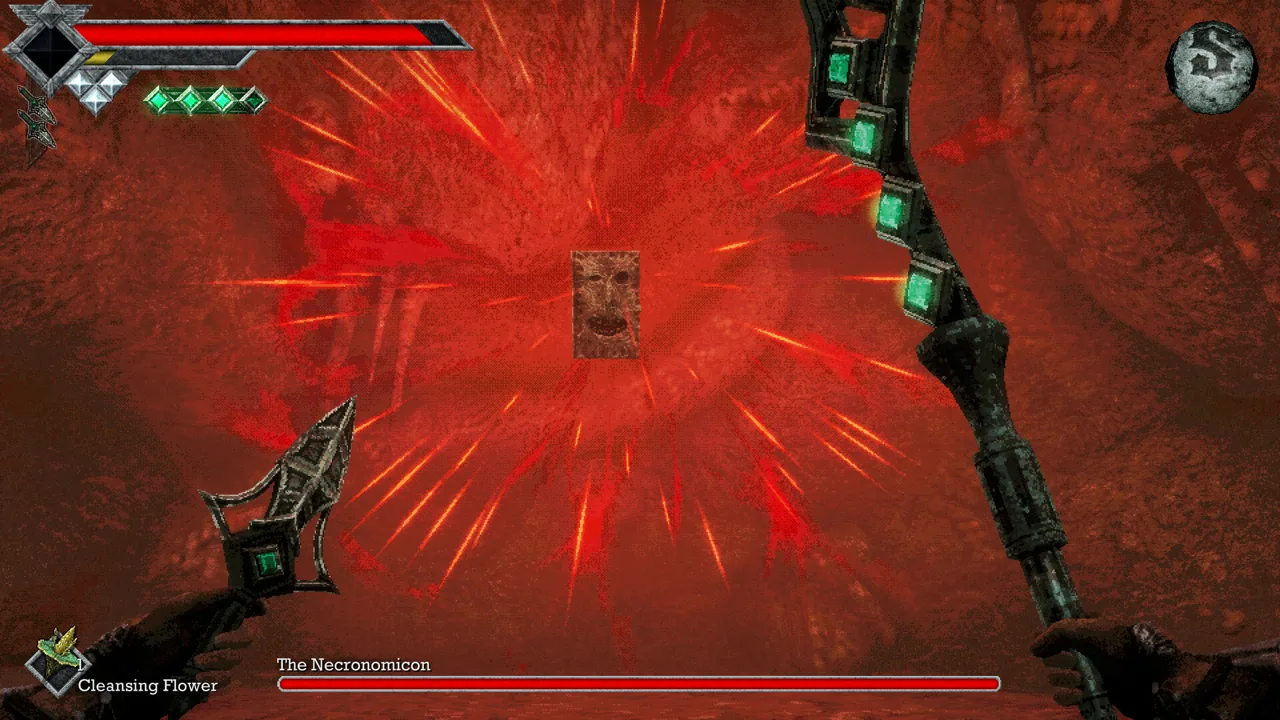 Image: Steam / Freshly Baked Games LLC
Check the bestiary for weaknesses, then read your weapon's item description. An animation that looks like a stab does not automatically deal piercing damage; a sword can retain slash damage throughout its moves.
Your early equipment gives you access to the three main physical damage types:
| Weapon | Damage type |
|---|---|
| Rusted sword | Slash |
| Rusted spear | Pierce |
| Wooden club | Impact |
Use the wooden club against skeletons and the Shrine Guardian, which are weak to impact damage. Switch to the rusted spear against the armored centipede-like enemies that are vulnerable to piercing.
Weapon-specific moves also change how you manage distance. The early spear has a retreating stab, while the wooden club has a pouncing special attack. Practice those moves separately from charging your primary attack so you know which input gives you the movement you need.
Practice Interrupts With a Matching Damage Type
A timed power attack against an enemy's weak damage type can briefly interrupt its attack. This requires both the appropriate damage type and a well-timed hit; a partial charge can also work.
Practice against an isolated enemy whose weakness you know. Listen for its attack cue and time your strike to interrupt the incoming blow. Keep enough room to retreat while learning the timing rather than relying on every hit to stop an attack.
Keep Ordinary Charges Separate From Endu's Special Meter
The Holy Sword Endu gains a separate special attack meter after you retrieve the Storm Gem in the Tower of Knowledge. That meter belongs to its powerful special attack.
You do not need the Storm Gem to charge ordinary melee attacks. Holding primary attack and watching the Power Meter turn blue works earlier in the game.
Other weapons can have their own ability meters, too. These typically recharge over time or build through attacks with that weapon. Watch the meter associated with the equipped weapon instead of assuming every special ability follows the same rules as a primary charged strike.
Troubleshoot Weak Hits and Unsafe Openings
If damage suddenly drops, check your power, damage type, and status before continuing to swing.
After sprinting: Stop running and rebuild your Power Meter. Attacking repeatedly while exhausted keeps your damage low.
Against a resistant enemy: Change weapons. Charging longer does not remove the enemy's resistance.
While affected by Heavy: Allow more time between exchanges. Heavy slows both movement and Power Meter recovery.
While affected by Disease: Check your status menu. Disease reduces the damage you deal.
When surrounded: Reposition before charging. Use daggers to pull enemies apart, and remove nearby laser eyes so they cannot hit you from behind during a melee exchange.
When the enemy is nearly defeated: Release a shorter charge if the opening allows it. Keep your attention on its remaining health rather than assuming a hit or sound means the fight is over.
Continue with
 Queen's Domain Combat Guide: Hit Harder, Take LessUse this Queen's Domain combat guide to master the power meter, exploit enemy weaknesses, choose early weapons, and prepare for tougher fights and bosses.
More in Combat

Queen's Domain Special Attacks: Weapons and Upgrades
Master Queen's Domain special attacks with the Rusted Spear, Azure Torch, and Endu. Learn how power, magic charges, and the Storm Gem shape your combat.
Queen's Domain Stamina: Power Meter and Combat Tips
Let the yellow Power Meter beneath your health bar recover before your next melee strike. Repeated swings with an empty meter deal less damage.
Queen's Domain Status Effects: All 9 Debuffs Explained
Learn how Queen's Domain status effects change combat, identify all nine debuffs, and use resting, remedies, and resistance gear to keep your run alive.
Continue exploring
Queen's Domain Map Guide: Routes, Keys, and Shortcuts
Navigate Queen's Domain map with routes to Endu, Wind Gems, Obmuer Temple, and the Tower of Knowledge, plus shortcuts and fast travel tips for exploration.
Queen's Domain Sword Jump: Wind Dash and Demo Timing
Learn the Queen's Domain sword jump, unlock Wind Dash, find the second Wind Gem, and understand the demo lunge trick before tackling much longer gaps.
Join the community
Official channels for news, updates and player help: