
Queen's Domain Fast Travel: Wing Altars and Fragments
Learn Queen's Domain fast travel with Wing Altars, Travel Crystal Fragments, and Wing Stone Fragments, plus routes to early waypoints to cut backtracking.
Jump to
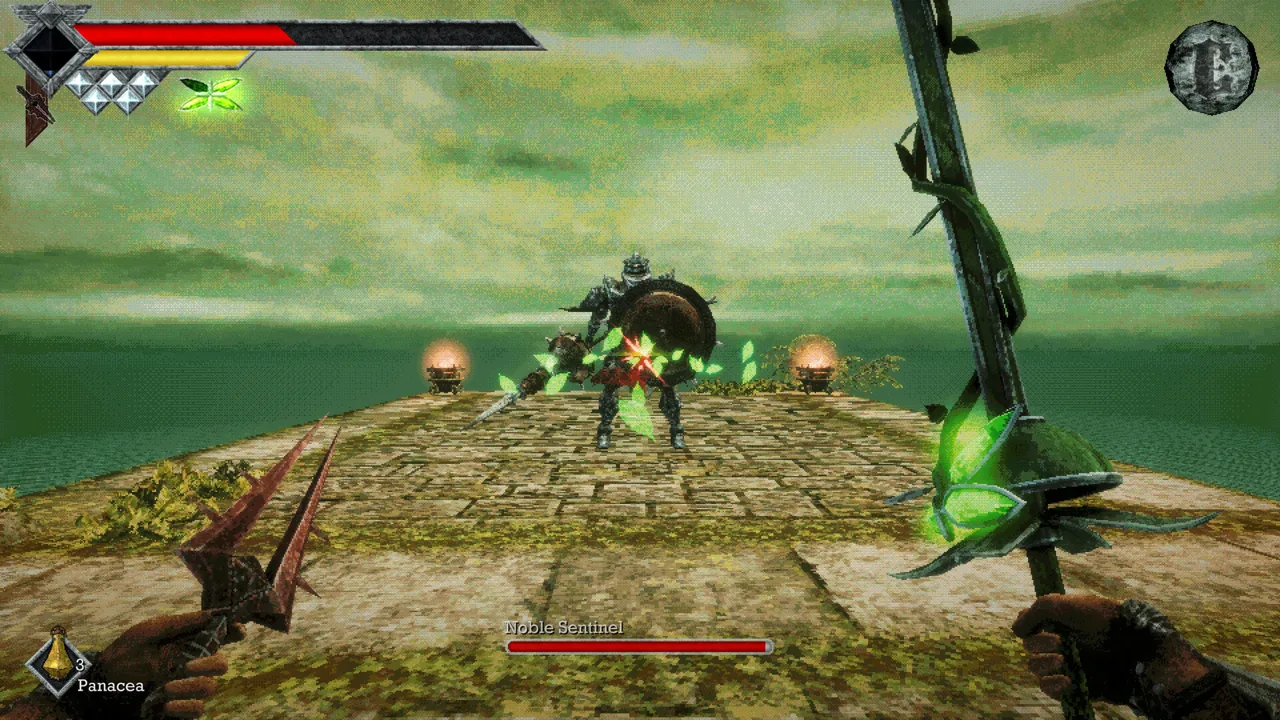
How to Fast Travel in Queen's Domain
The Isle of Neasied is an interconnected island filled with hidden secrets. Queen's Domain fast travel gives you three ways to shorten the trip: Wing Altars, Travel Crystal Fragments, and Wing Stone Fragments. The distinction matters because returning to your last save and traveling to a discovered waypoint use different items.
| Travel method | Destination | What you need |
|---|---|---|
| Travel Crystal Fragment | The last Crystal Monument where you saved | A fragment, consumed when used |
| Wing Altar | Another discovered Wing Altar | Access to a Wing Altar and a discovered destination |
| Wing Stone Fragment | Any discovered Wing Altar, from your current location | A fragment, consumed when used |
Travel Crystal Fragments return you to your last save location. Simply finding another Crystal Monument does not make it your destination; you need to save there.
Wing Stone Fragments let you reach the altar network from wherever you are. Use one when you want a discovered Wing Altar instead of your last saved monument.
Wing Altars provide travel between discovered waypoints, generally with one altar per zone. Explore each new area for its altar so you can return without repeating the entire approach.
Official page: Queen's Domain (store.steampowered.com)
Reach the Return Waypoint After Obmuer Temple
A useful early fast travel point sits beyond Dagoom, the sea king, near the third gargoyle statue. It takes you back to the beginning area, close to the second gargoyle and the locked gate nearby.
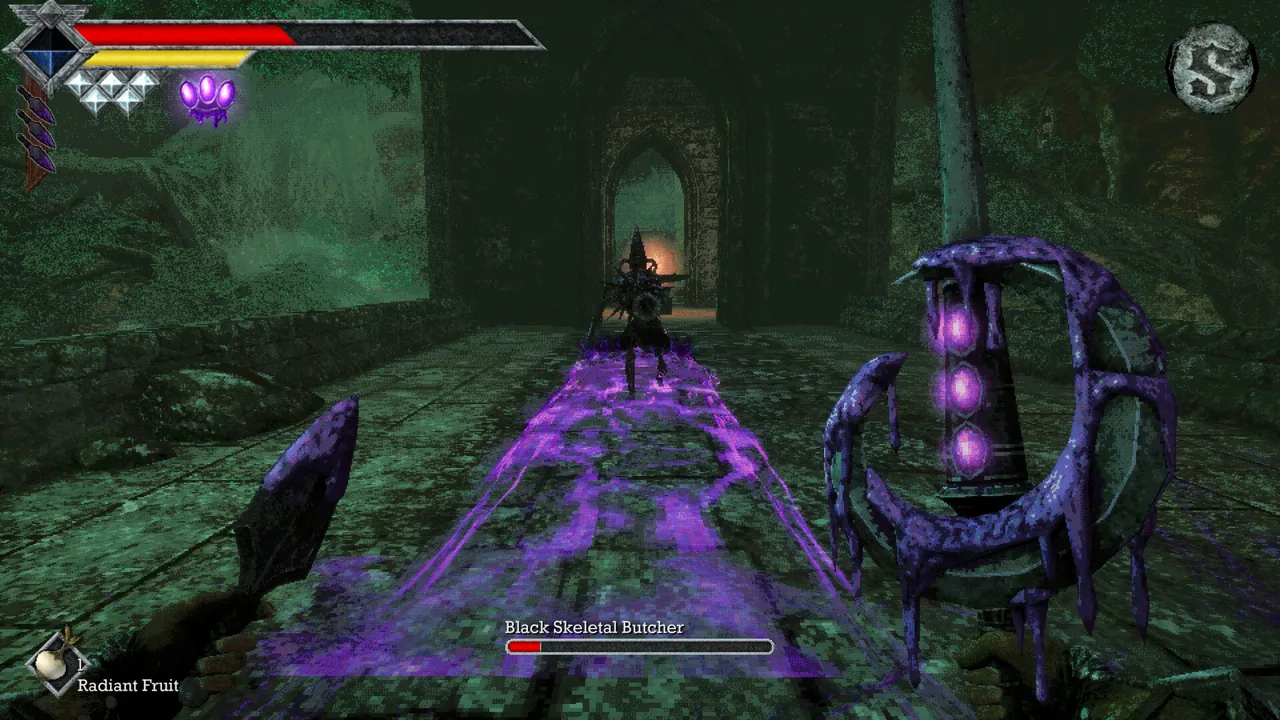 Image: Steam / Freshly Baked Games LLC
Getting there requires several traversal upgrades and the temple’s main progression route:
- Defeat the Shrine Guardian and collect the Holy Sword of Endu. Its Wind Gem gives you an air dash.
- Collect the Azure Torch near the Tower of Knowledge. You need it to ignite the gargoyle statues.
- Find the second Wind Gem. From the elevated second save point in the starting area, climb the rocks between the pillars and dash toward the gem.
- Light the first two gargoyles before continuing. One is above the broken stairway reached from the blue lantern near the pillars. The other is north of the elevator that connects the higher starting-area route to ground level.
- Cross the broken bridge into the water area and collect four triangular slates. These open Obmuer Temple.
- Find the third Wind Gem inside the temple. Three air dashes let you cross the large pit near the save point.
- Defeat the three royal guard sub-bosses, then Dagoom. After leaving the dungeon, light the third gargoyle and look nearby for the return fast travel point.
Do not keep searching the temple for all four trident keys before moving on. Only two are found inside the temple. Another comes from fully leveling the trident weapon, and another becomes available in the shop after the Tower of Knowledge boss. Completing that optional loot objective is unnecessary for reaching Dagoom and the exit route.
Find the Tower of Knowledge Fast Travel Point
The Tower of Knowledge has another fast travel point at the top of a stairwell beyond its numbered-gargoyle puzzle. Reaching it gives you a reason to push past the balcony puzzle before making a long return trip.
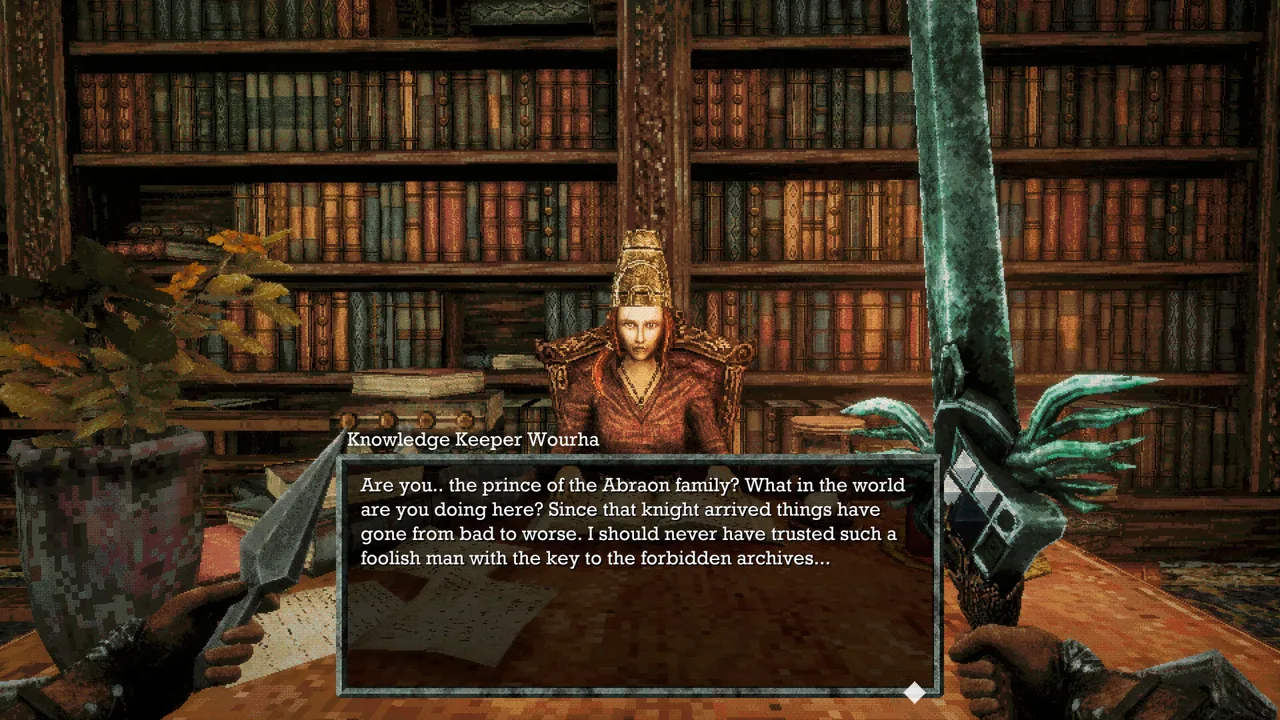 Image: Steam / Freshly Baked Games LLC
Follow this route:
- Reach the balcony with the numbered gargoyle statues.
- Light gargoyles 3 and 7 to unlock a nearby door inside the tower.
- Go through that door and continue to the next save point.
- Climb the stairwell to the top to find the fast travel point.
Lighting the wrong gargoyles triggers an attack involving book bugs. Use the correct pair to avoid that extra fight.
The Storm Gem is also nearby, up a large staircase. It unlocks Endu’s special attack meter; your additional air dashes come from Wind Gems.
Shorten Detours With Saves, Wind Dashes, and Shortcuts
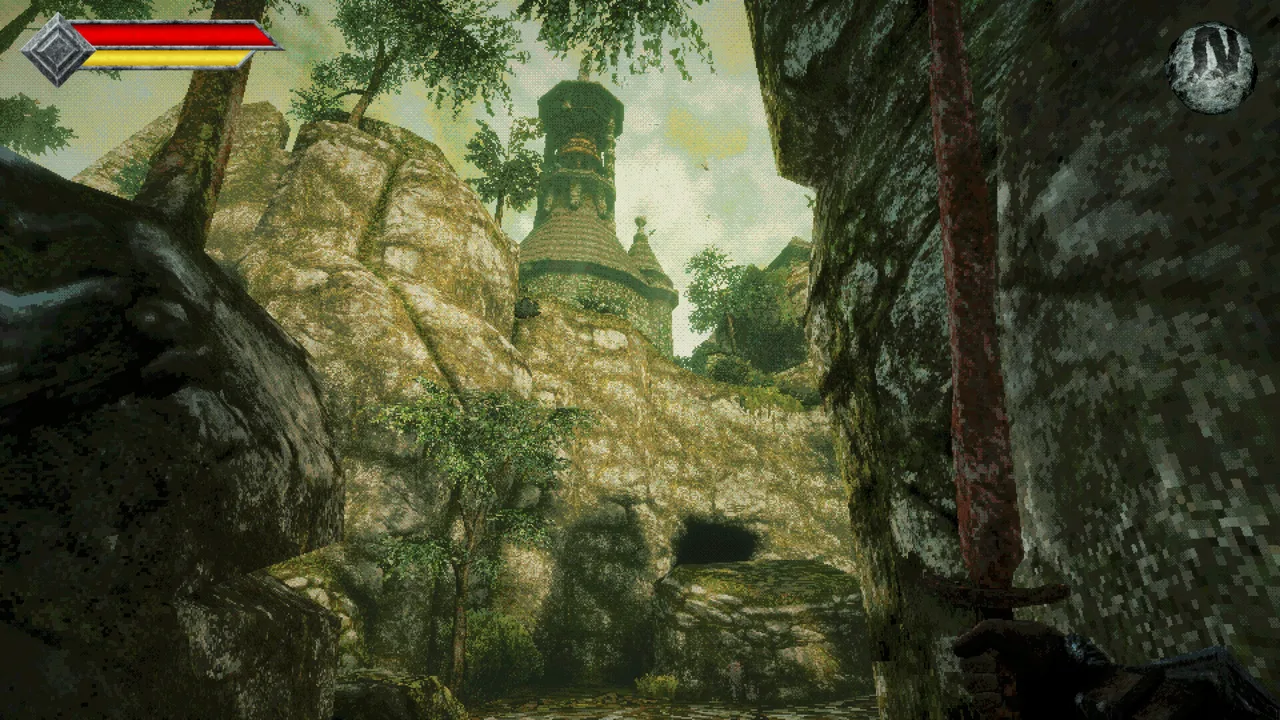 Image: Steam / Freshly Baked Games LLC
Save manually at Crystal Monuments before long exploration trips. There are no automatic checkpoints, and dying sends you back to your most recent save with subsequent progress lost. Saving at a different monument also changes your Travel Crystal Fragment destination.
Saving and resting serve different purposes. Resting restores health and clears negative status effects, but it also respawns enemies. Save your progress even when you do not need to rest.
For routes between waypoints, use these habits:
- Open elevators, ramps, and shortcut gates when you reach their accessible side. Dungeon exits often connect back to earlier areas.
- Revisit gaps after collecting Wind Gems. Additional dash charges make previously unreachable platforms accessible.
- Let the Wind Dash meter recharge before committing to a crossing. Each dash spends one diamond from the meter.
- Write down landmarks and compass directions. There is no in-game map, so notes help you relocate altars, blocked routes, and useful shortcuts.
The October 31 version 1.01.01 patch fixed missing water return pits around Neasied. Install that update before exploring the island’s water crossings.
Continue with
 Queen's Domain Map Guide: Routes, Keys, and ShortcutsNavigate Queen's Domain map with routes to Endu, Wind Gems, Obmuer Temple, and the Tower of Knowledge, plus shortcuts and fast travel tips for exploration.
More in Exploration
Queen's Domain All Hidden Passage Guide: Early Secrets
Queen's Domain all hidden passage guide: find three secret walls, collect Pandora's sword, and unlock overlooked routes through the Tower of Knowledge.
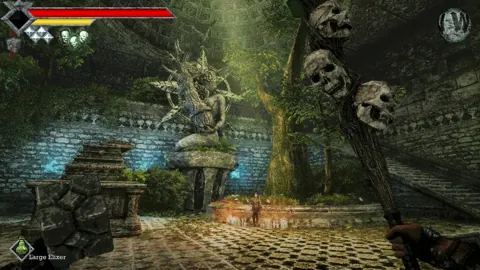
Queen's Domain Exploration Guide: Unlock Every Route
Use this Queen's Domain exploration guide to find Endu, unlock Wind Dashes, collect permanent upgrades, and reach Obmuer Temple without losing progress.
Queen's Domain Shop Location: Unlock the Duck Merchant
Find the Queen's Domain shop location, unlock Umbada's Trading Outpost with the Stone Duck Figurine, and learn what to buy with your early Ancient Coins.
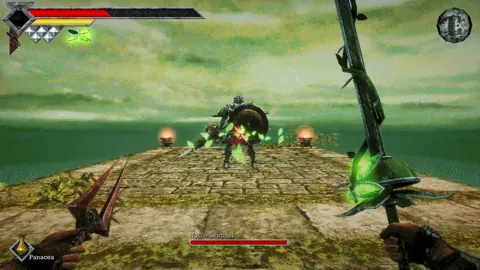
Queen's Domain Sword Jump: Wind Dash and Demo Timing
Learn the Queen's Domain sword jump, unlock Wind Dash, find the second Wind Gem, and understand the demo lunge trick before tackling much longer gaps.
Continue exploring
Queen's Domain Demo Guide: Daggers, Keys & Boss Tips
Explore the Queen's Domain demo with a route to the Dagger Belt, shrine key, and boss, plus combat tips that help you save herbs and protect progress.
Queen's Domain Trident: Location and Key Unlock Guide
Find the Queen's Domain trident, learn how its max-level upgrade yields a key, and track down all four trident keys for the temple's optional loot puzzles.
Join the community
Official channels for news, updates and player help: